BuzzBox Installation Guide (Retired)
Learn How to Install Your BuzzBox Hive Health Sensor in Your Own Beehive
All New BuzzBox Users: Read This Before Getting Started!
To make things as easy as possible for you, make SURE you do these two things before bringing your BuzzBox to your hive:
- Turn the On/Off switch to the OFF position, place the solar panel in some sunlight (don't expose the circuits to weather though!), and make sure the RED LED charge indicator light is ON. Let the unit charge for 24 hours before doing anything else.
- Bring your BuzzBox near your WiFi access point and register the unit with the app FULLY before taking the unit to your hive.
Doing these two things will help you avoid many common issues. Thank you for joining the BuzzBox network!
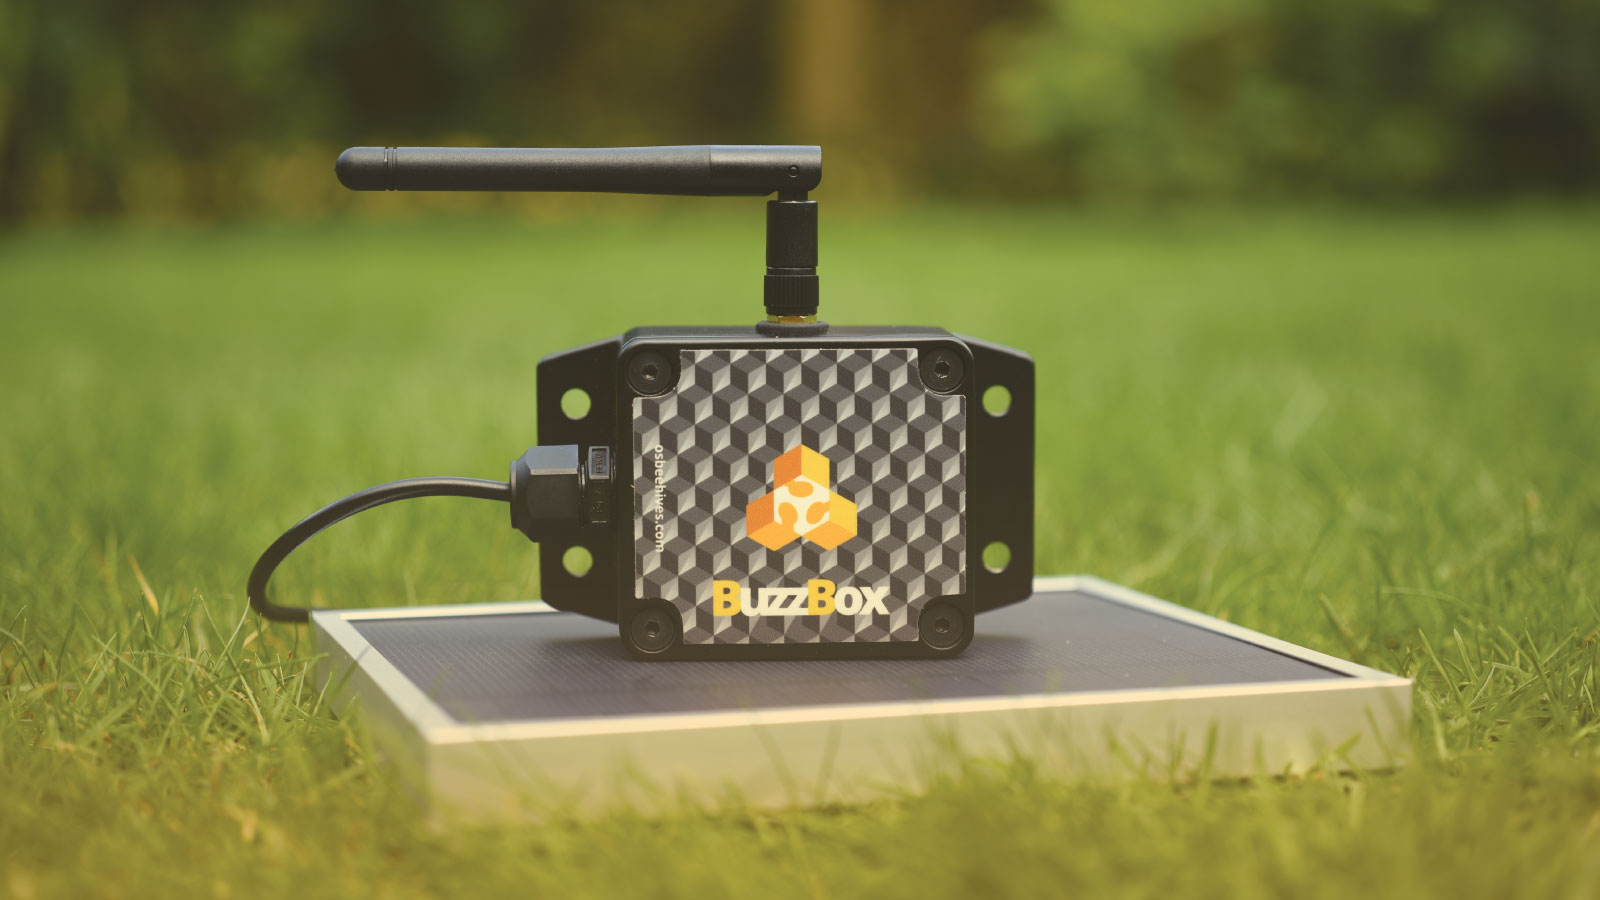
BuzzBox Installation
The BuzzBox can be installed in many positions in a hive. We suggest experimenting to determine what works best for you. For example, you can simply place the kit inside the hive, or you can mount it on a divider board in hives that have them (such as a Kenyan top bar).
To receive accurate temperature/humidity measurements, we suggest mounting the BuzzBox within the hive roof with the vent port facing down into the hive, if possible. Housing the BuzzBox within the hive walls whenever possible is recommended. Please let us know in the forum what you discover.
The BuzzBox needs to be mounted on a side of the hive where it does NOT have direct exposure to the sun, else the internal temperature/humidity measurements will not be accurate.
Initial Setup
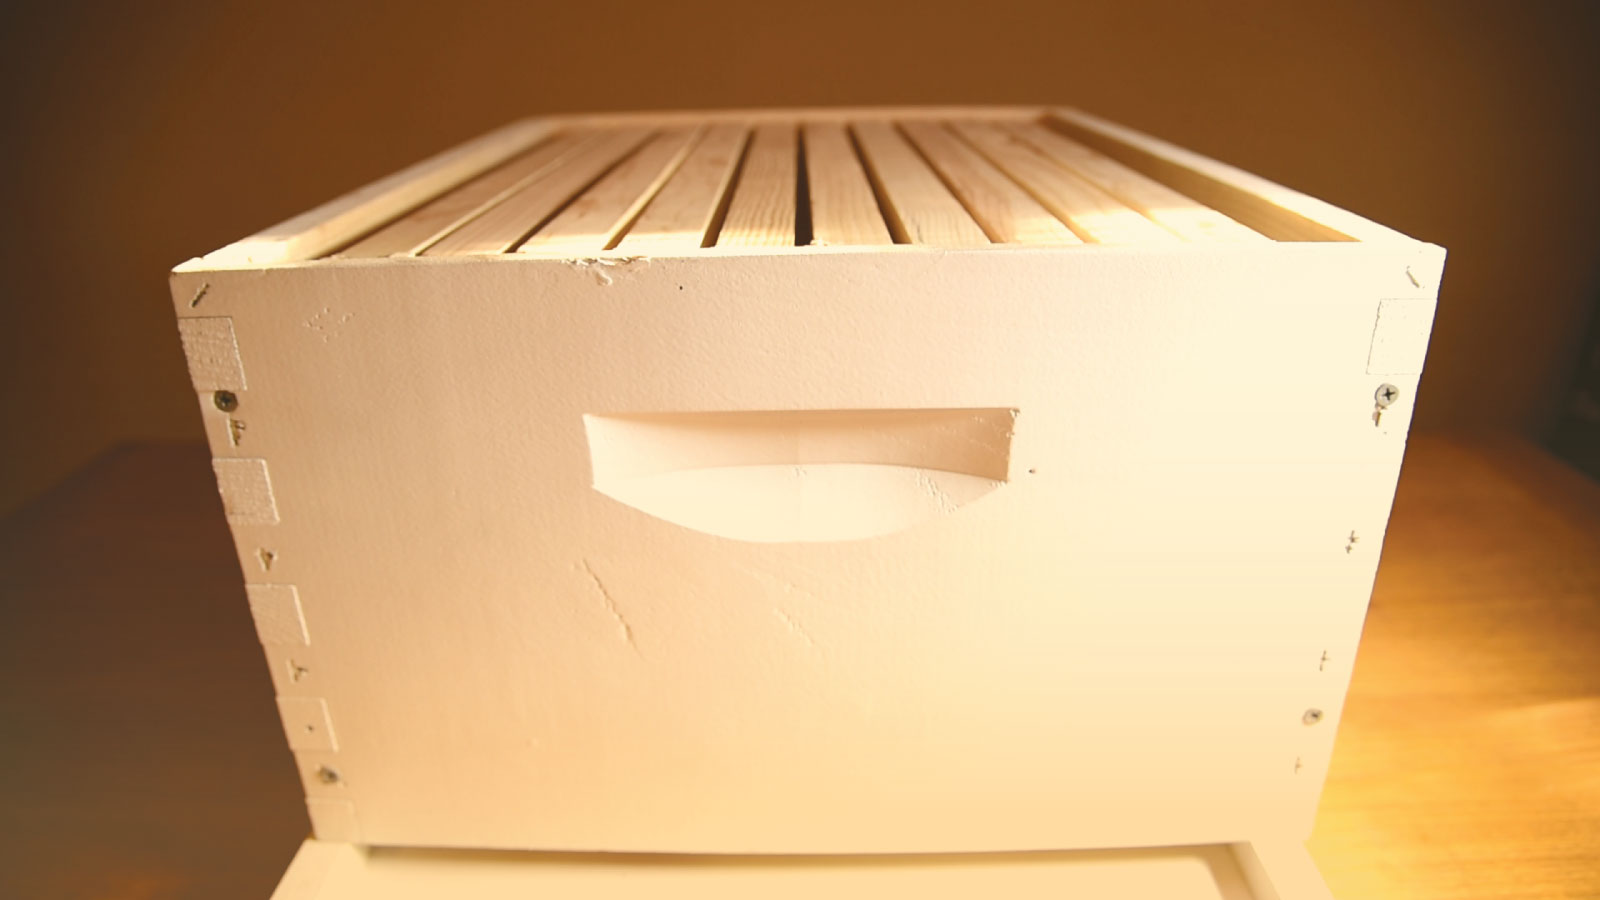
Mounting Position
The ideal location for the BuzzBox is near the top of the hive body close to the top of the comb. In some cases, the hive's handles will prevent this, so a lower position is acceptable.
Place your body on a work surface, and install a full amount of frames.
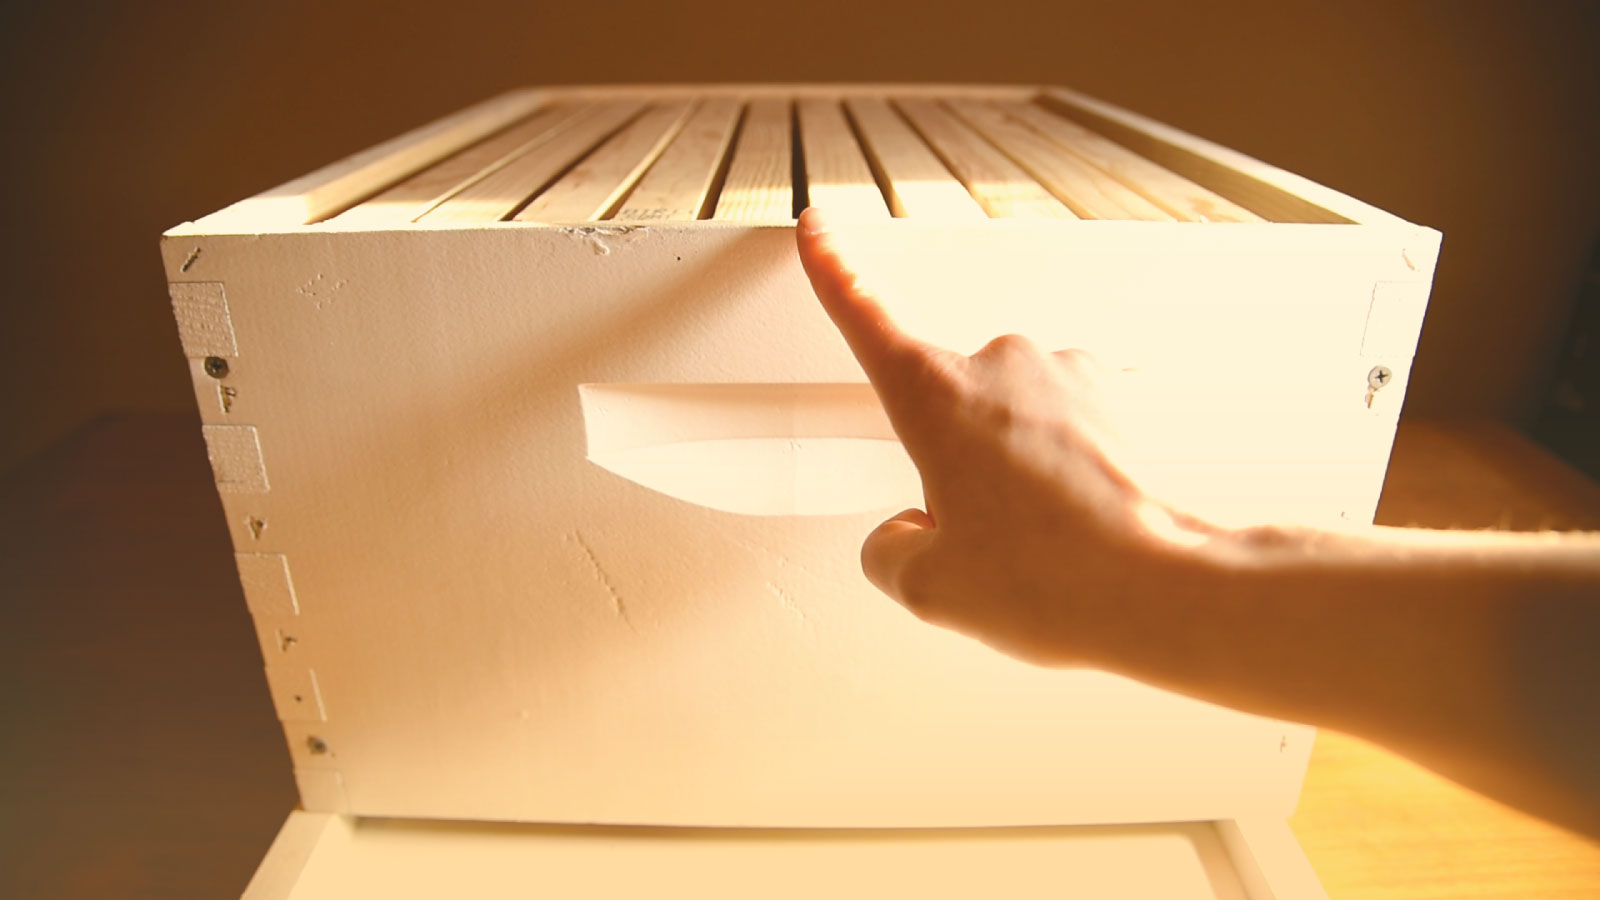
Locate the center two frames and pinpoint the space between them. If mounting the BuzzBox on the hive exterior, you will want to center the vent cover between two frames so the comb and propolis do not block it.
Beginning at the top of the hive body, and centered on the bee space between two frames, draw a vertical line down toward the base.
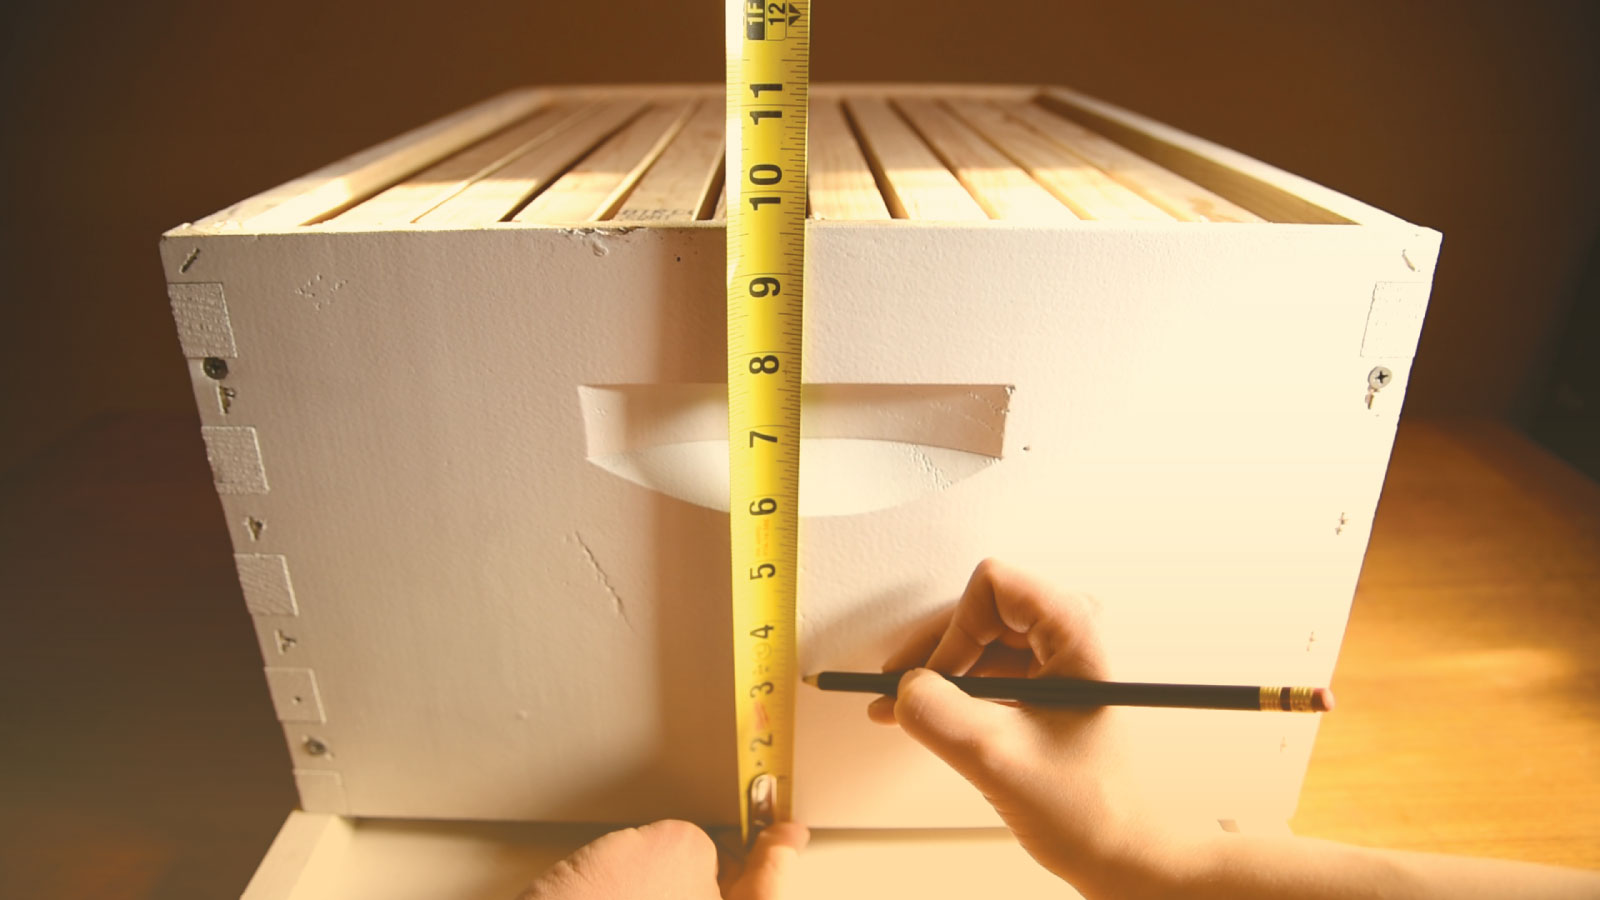
Use your best judgment for your specific conditions, and mark a horizontal line to mark the center of the vent cover hole.
Remove all of the frames from the hive body.
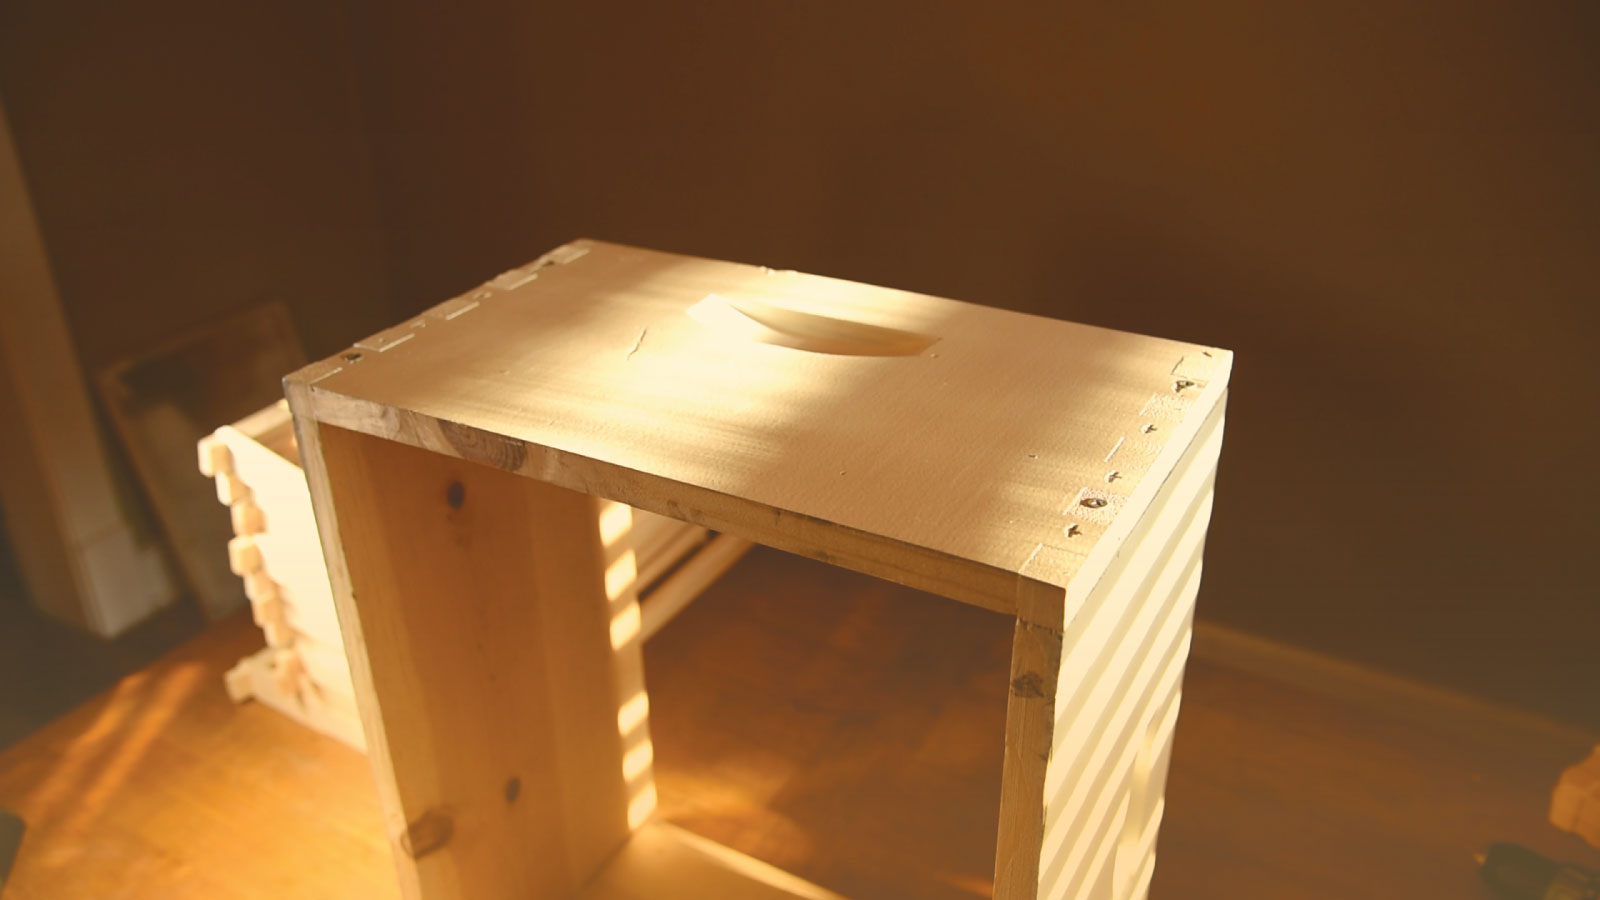
Rotate the hive body, so the working surface is facing up. This will make it easier to drill your vent cover hole.
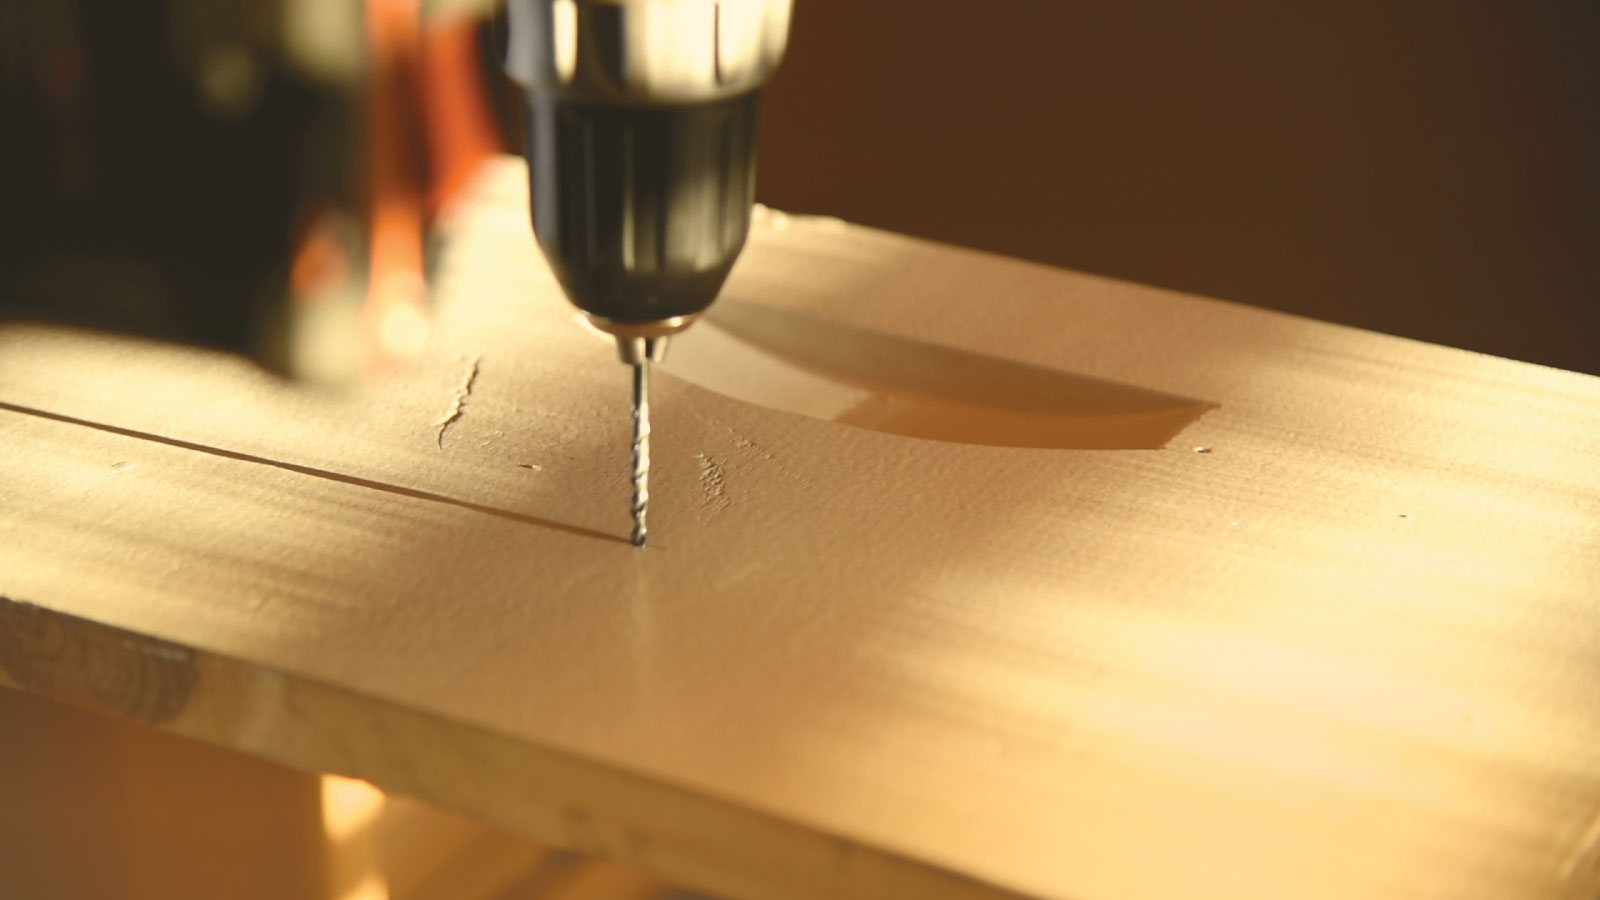
Using an initial drill size of 1/8" (6 mm), drill a pilot hole in your hive body.
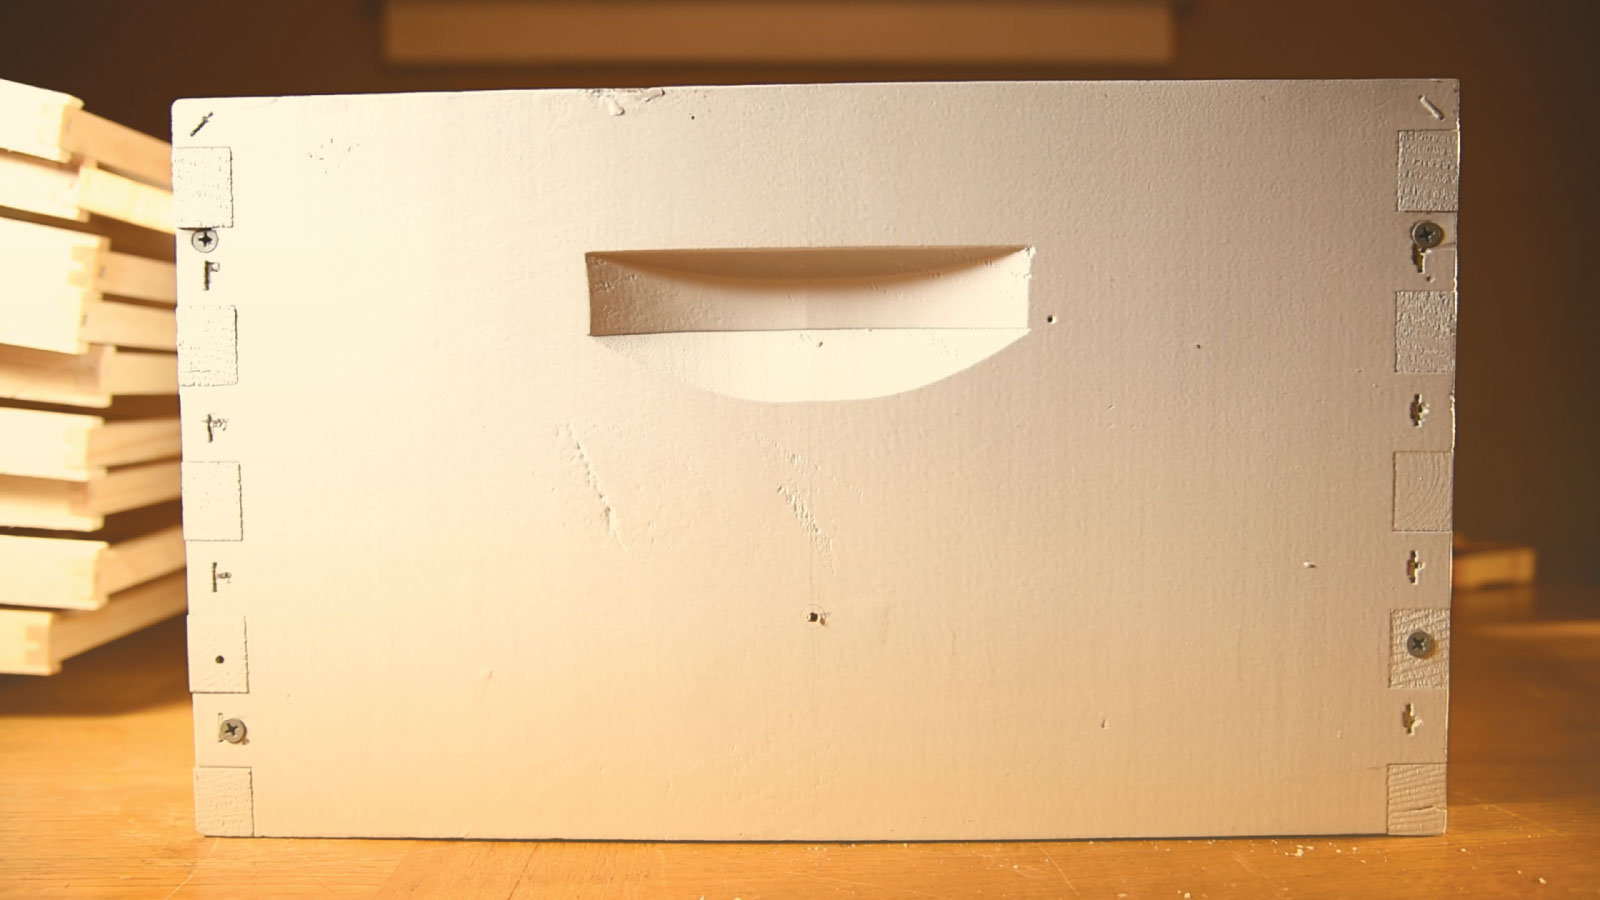
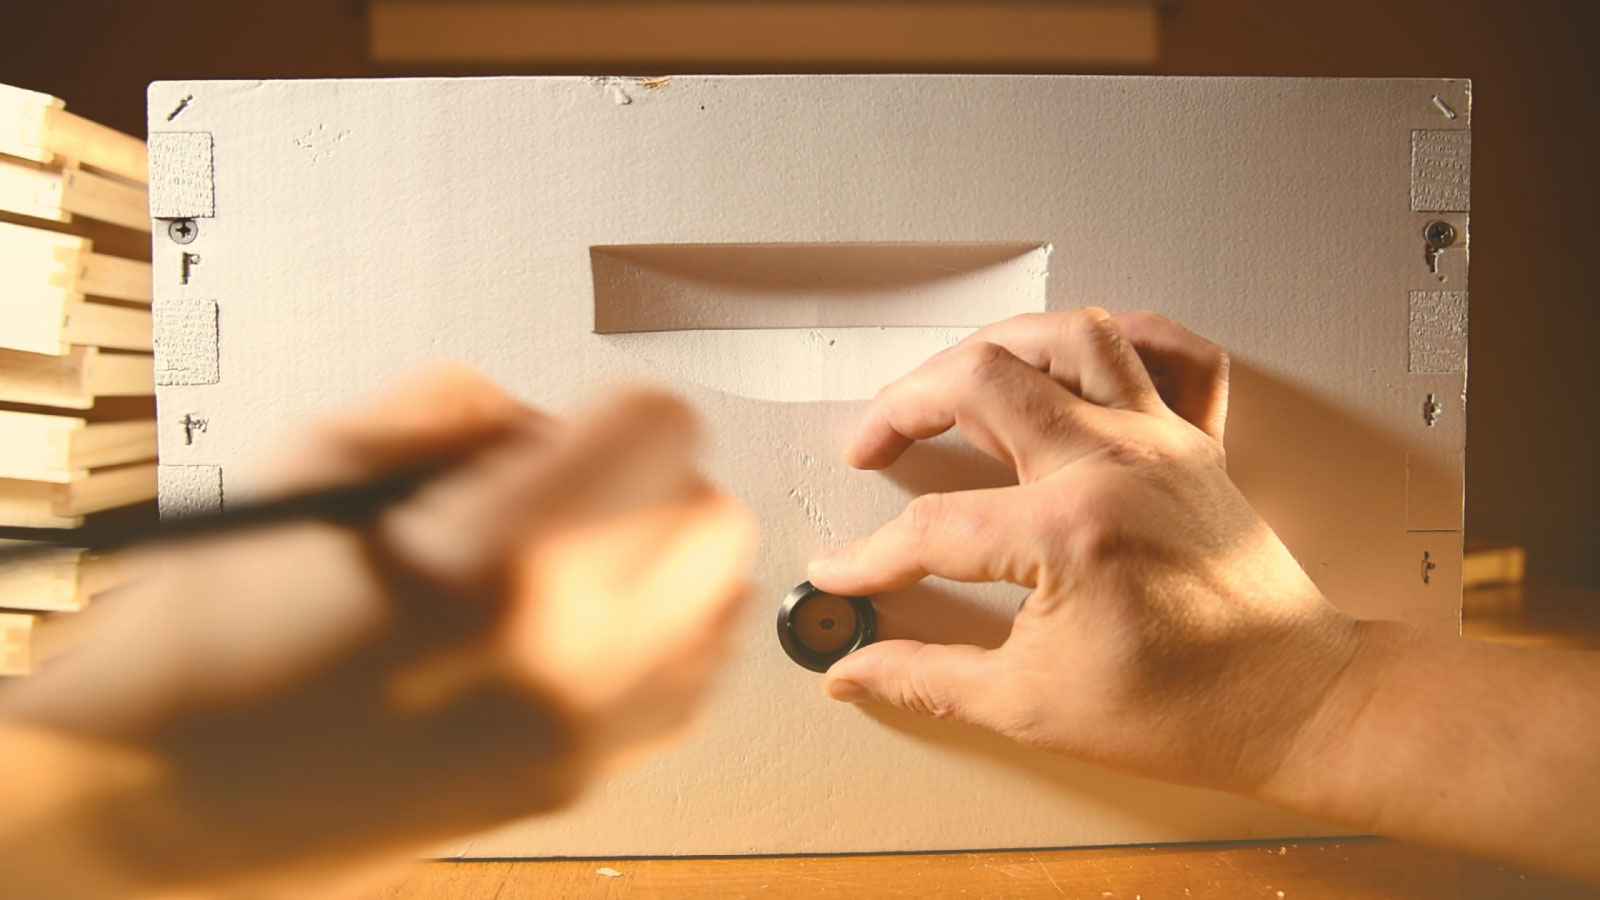
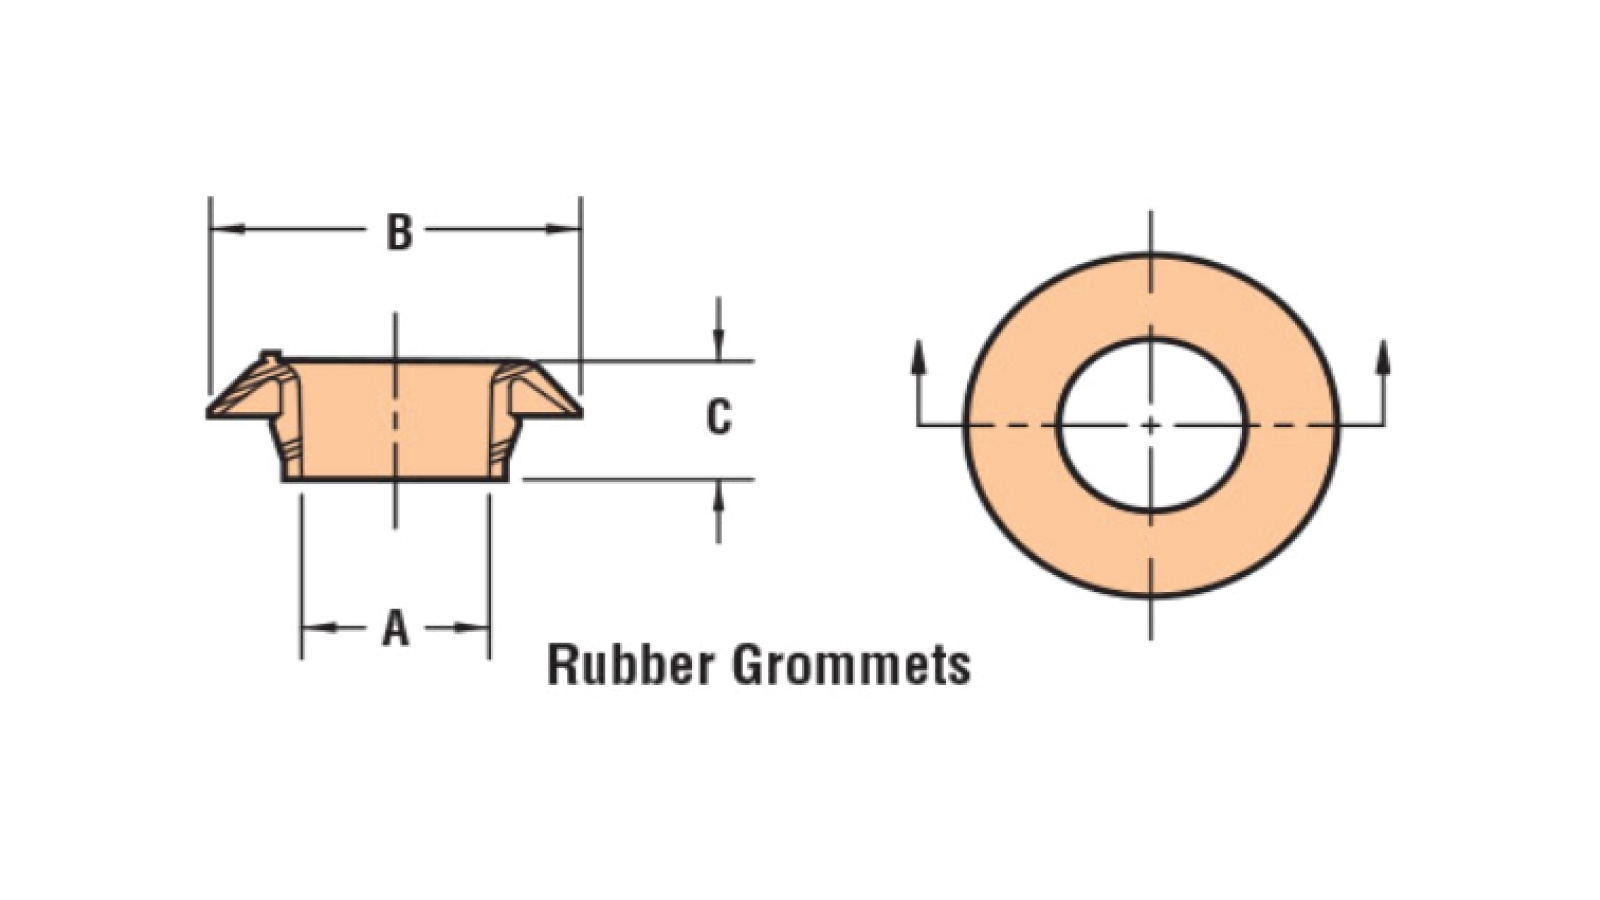
Open the included zip-loc bag, which contains your mounting hardware, and remove the vent cover grommet. Place it centered over the pilot hole and trace the outer contour. Make sure to trace dimension A (not dimension B) shown below. The hole should be 0.875" (22.2 mm).
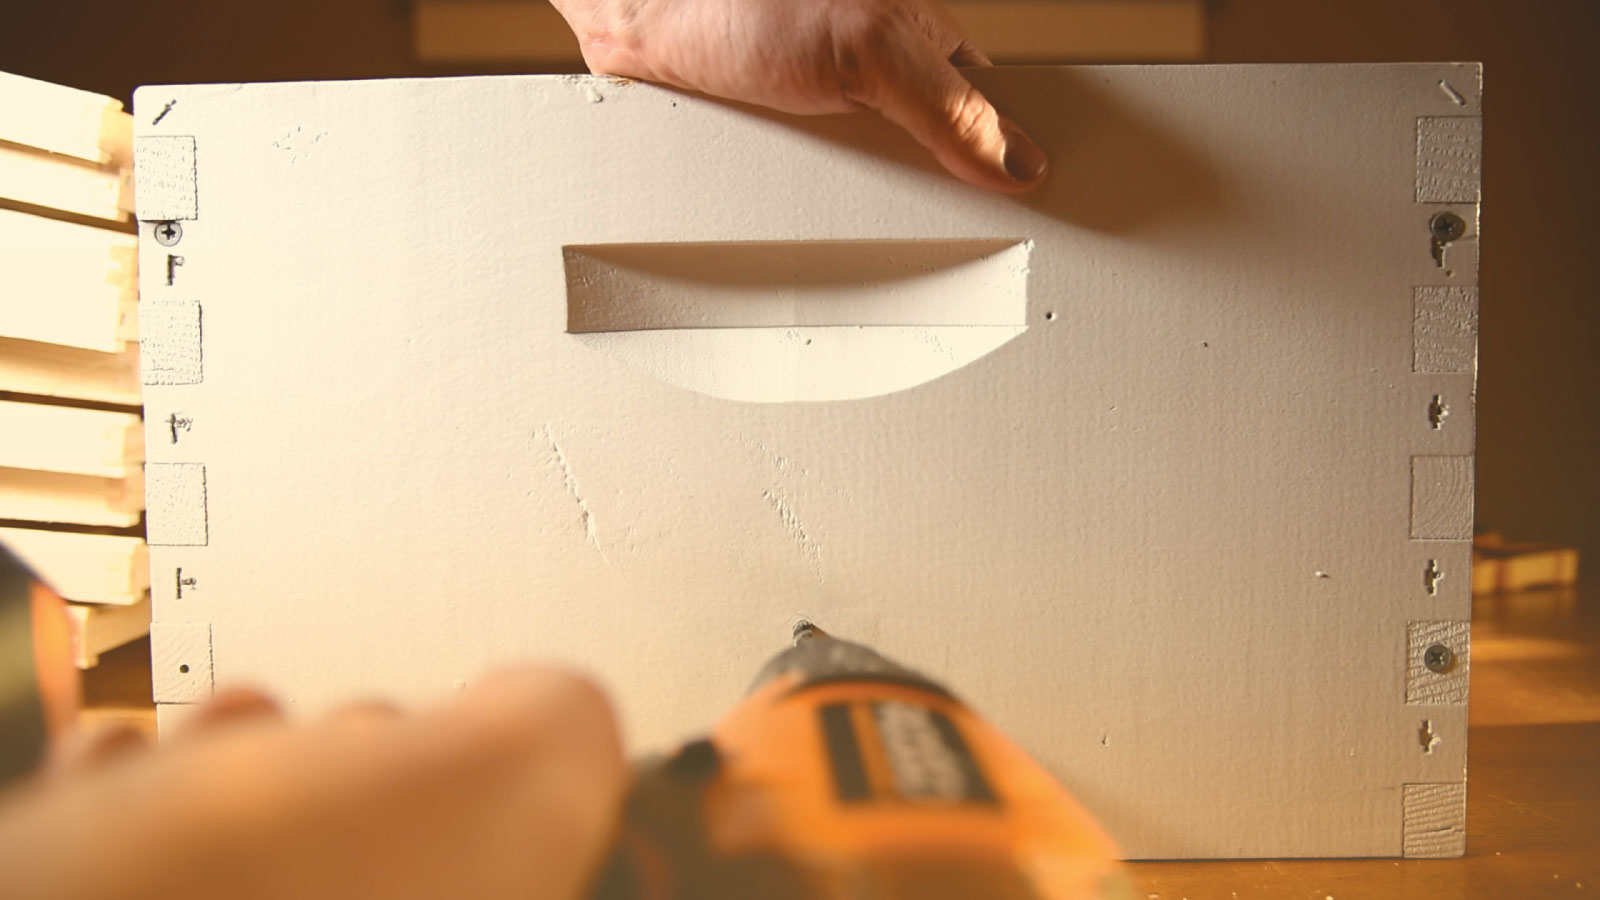
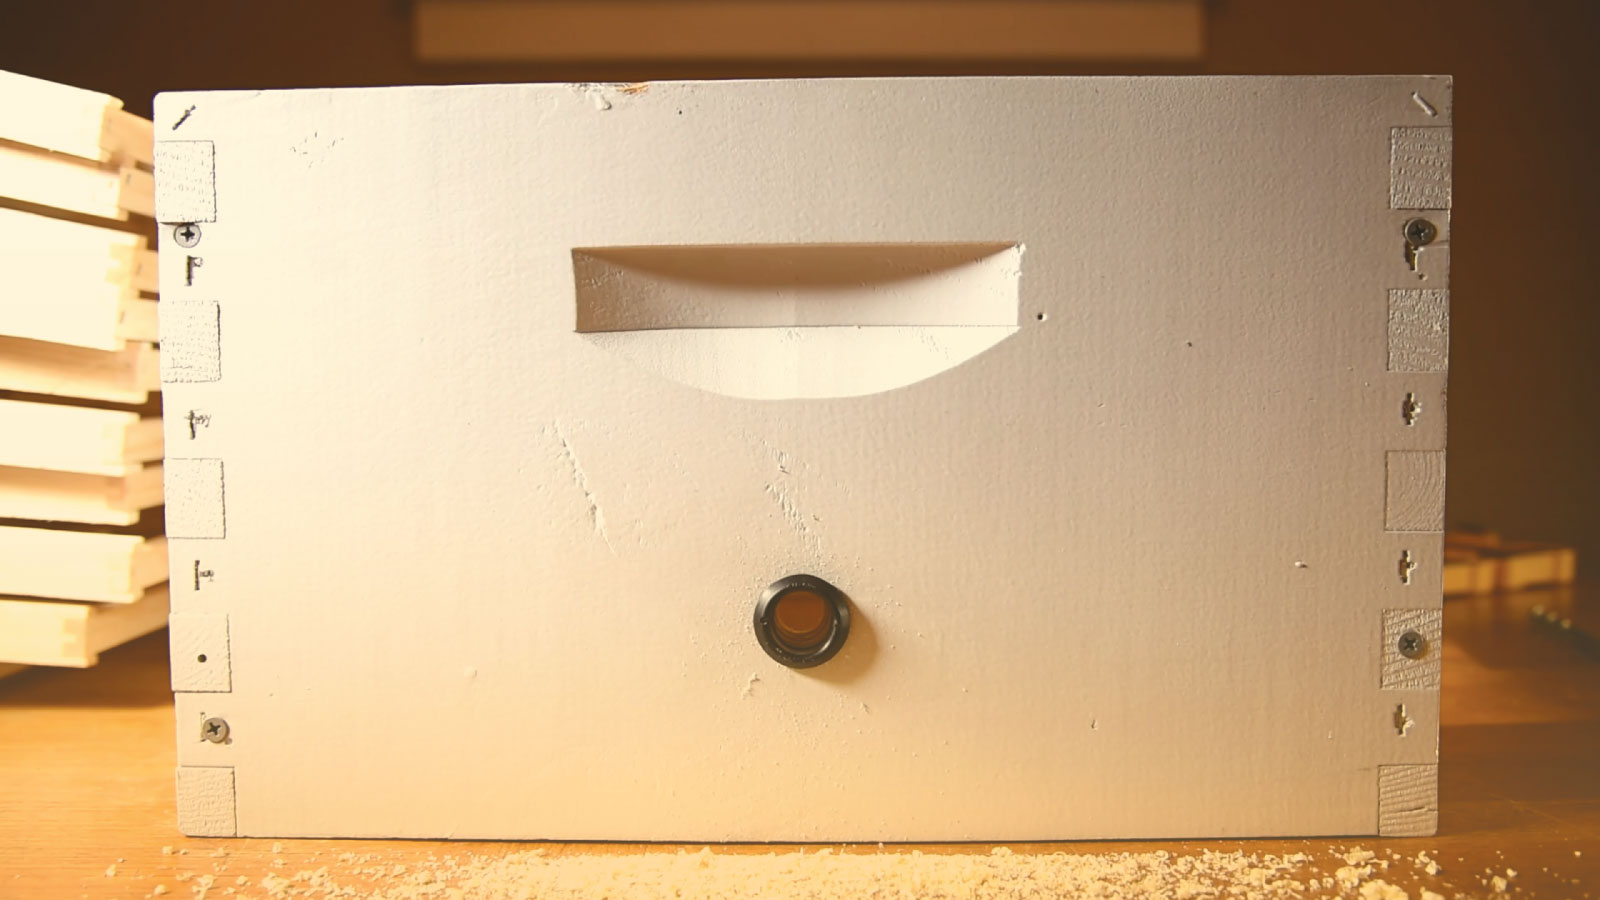
Increase the bit size in comfortable increments (around 1/8" to 1/4" (2 mm to 4 mm) at a time) until the hole is large enough. Alternatively, use a step bit for maximum convenience.
Warning!
The vent cover grommet is mandatory for all installations. It creates a water-tight seal that prevents moisture from entering the BuzzBox unit. It also drastically reduces the chance that your bees will propolise the hole, because it creates a tight seal preventing airflow.
If you do not use the cable vent grommet, your BuzzBox WILL get damaged by weather.
The hole should be 0.875" (22.2 mm). Insert the vent cover grommet into the hole to ensure it fits properly.
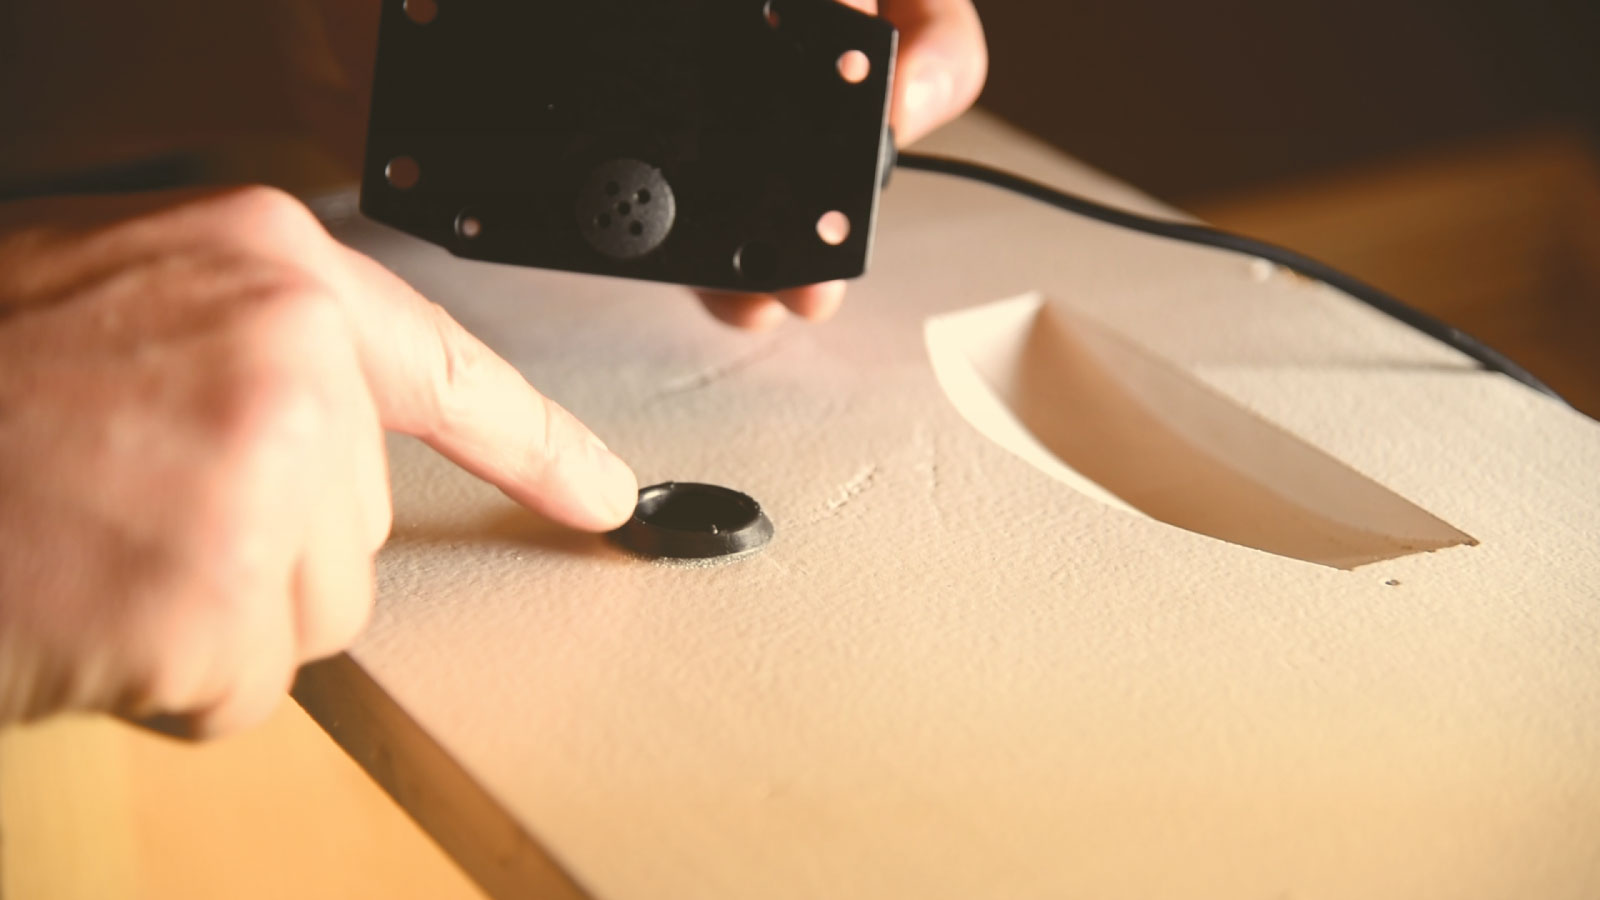
This photo demonstrates that the vent cover fits tightly inside the vent cover grommet. For now, remove the grommet.
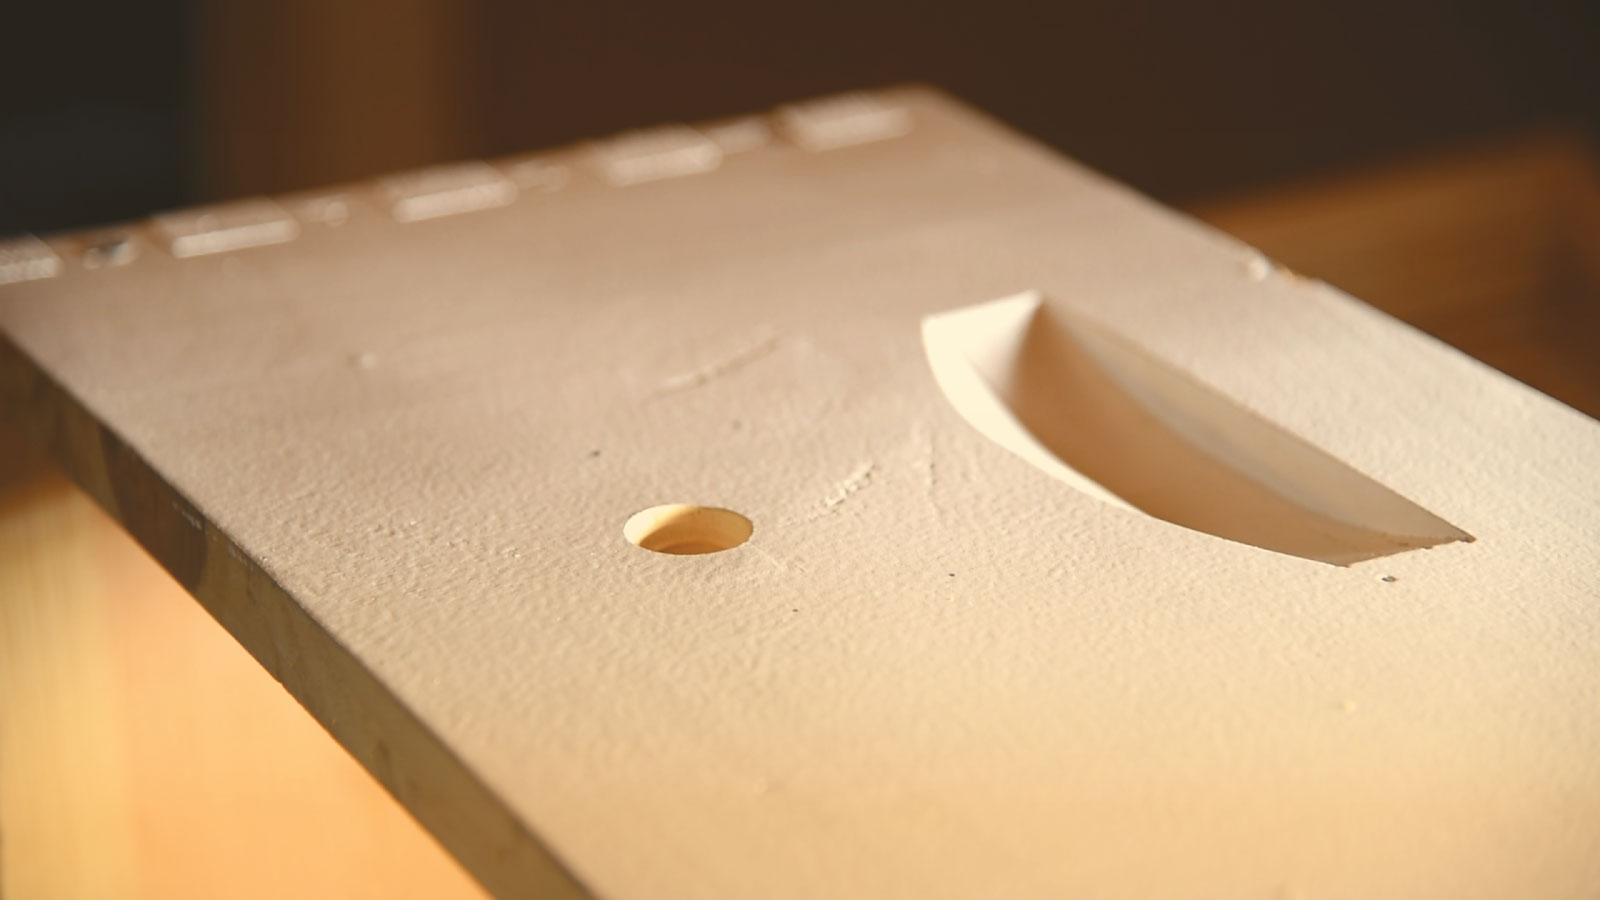
During the next step, we will position the BuzzBox over the hole, so the mounting hardware holes can be marked and drilled.
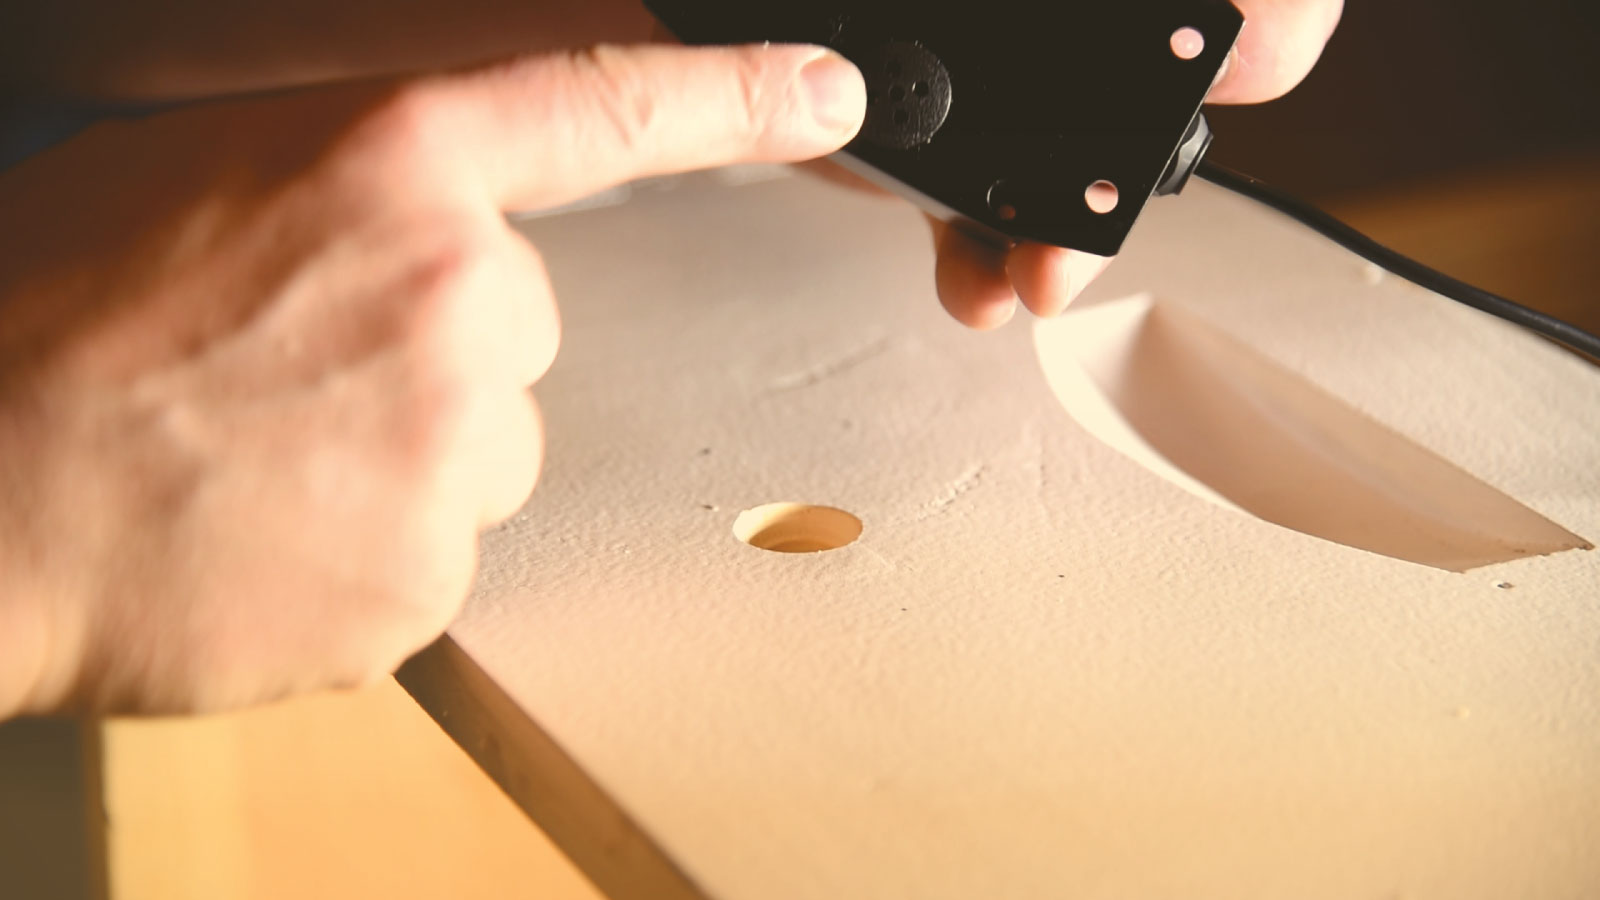
Caution!
Make sure to center the vent cover over the hole, so that sound and temperature, and humidity readings are not hampered by obstructions. Carefully line up the vent cover with the hole and check that its properly positioned by looking at it from the other side of the board.
Place the vent cover over the hole.
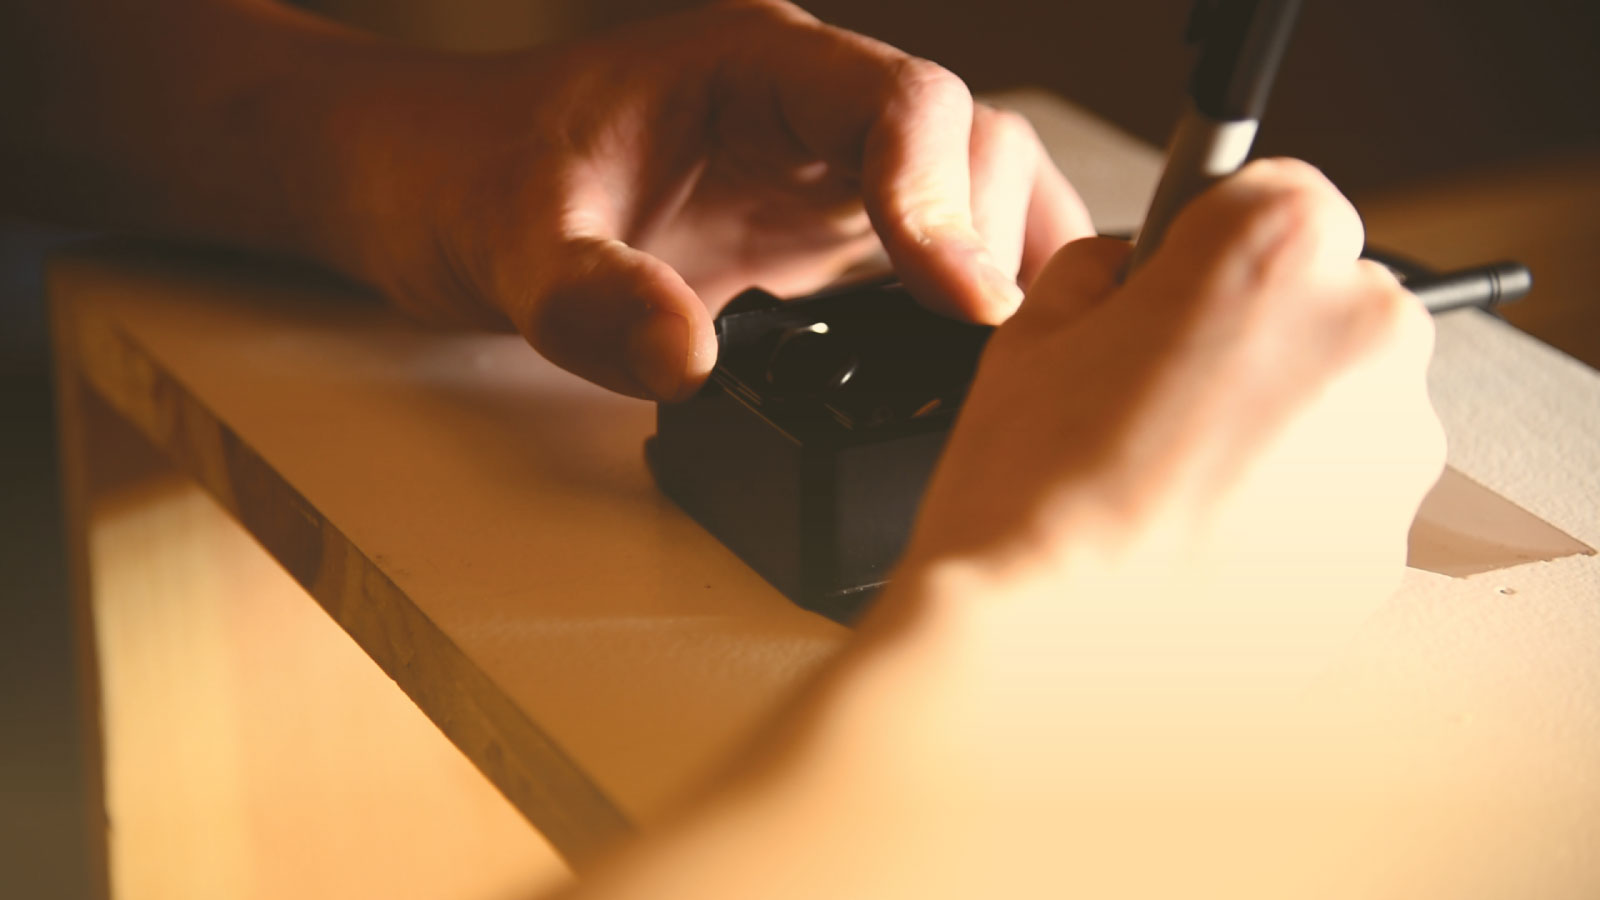
With the BuzzBox in position, use a marker to mark the four mounting holes. Make sure the BuzzBox is straight, so it hangs nicely.
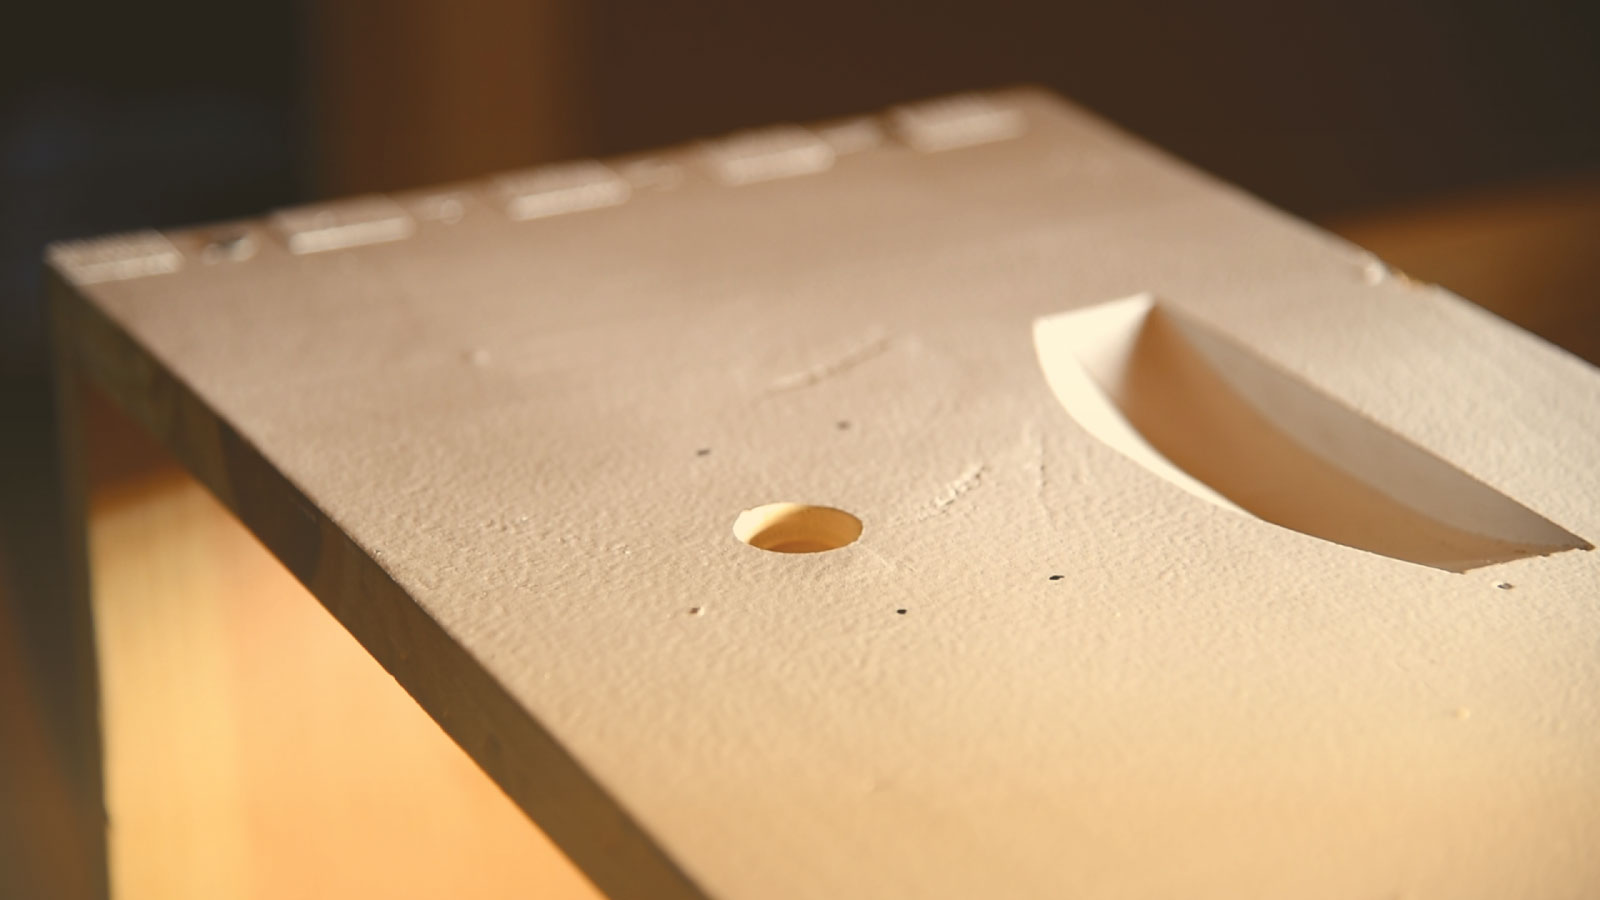
Remove your BuzzBox and inspect your marks for visibility and straightness.
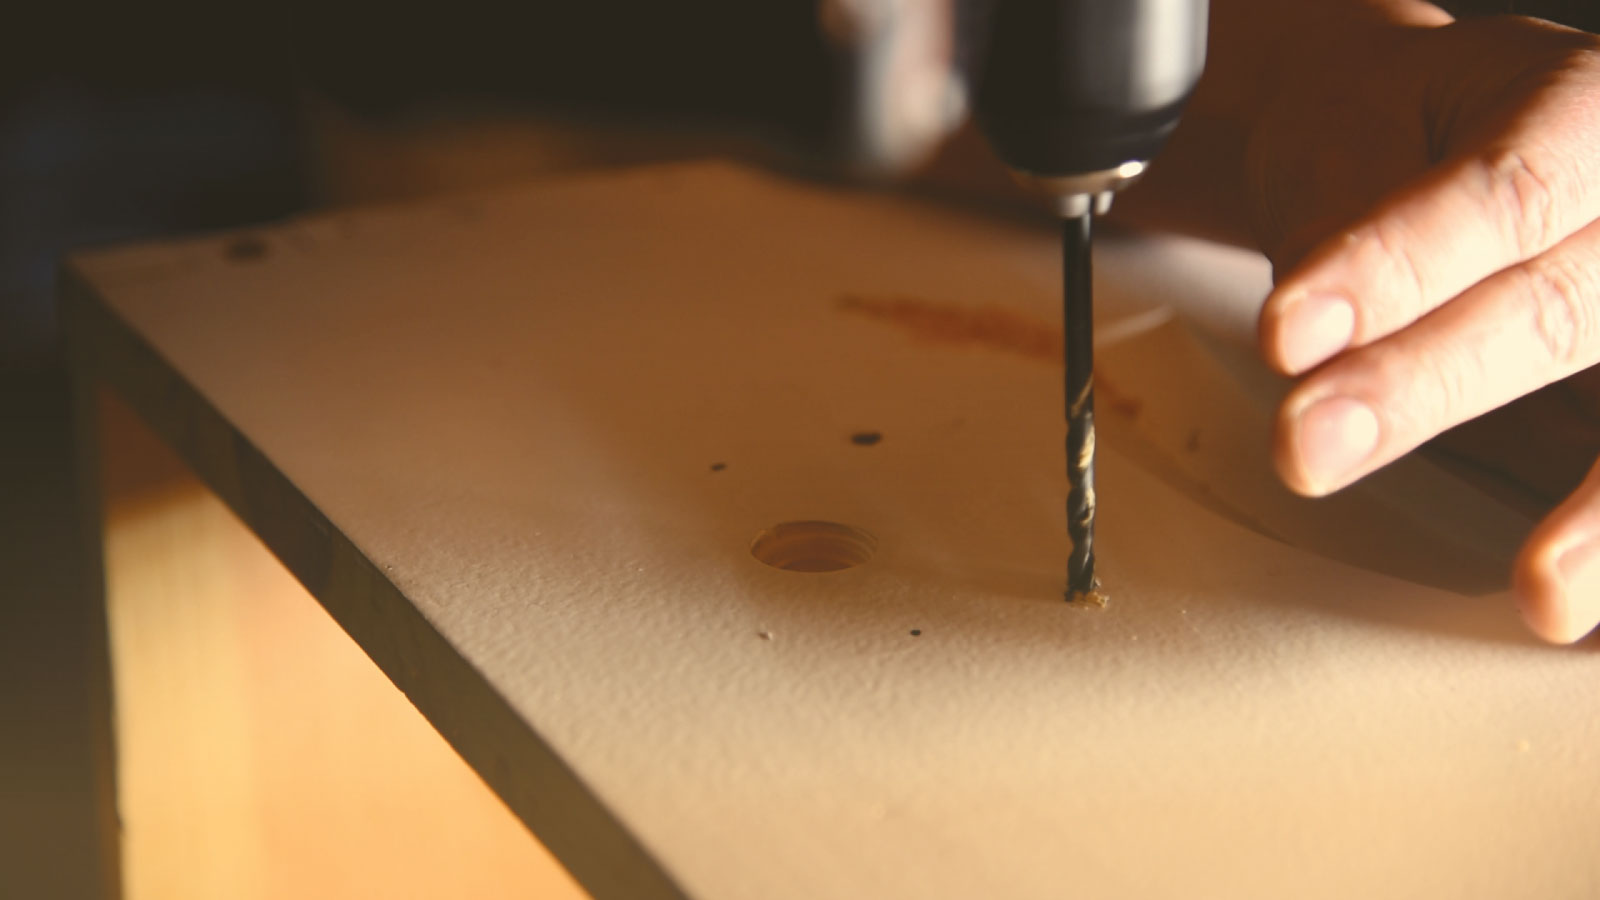
Using a 0.25" bit, drill four holes where your marks are. Insert a bolt in each hole to make sure its thoroughly drilled.
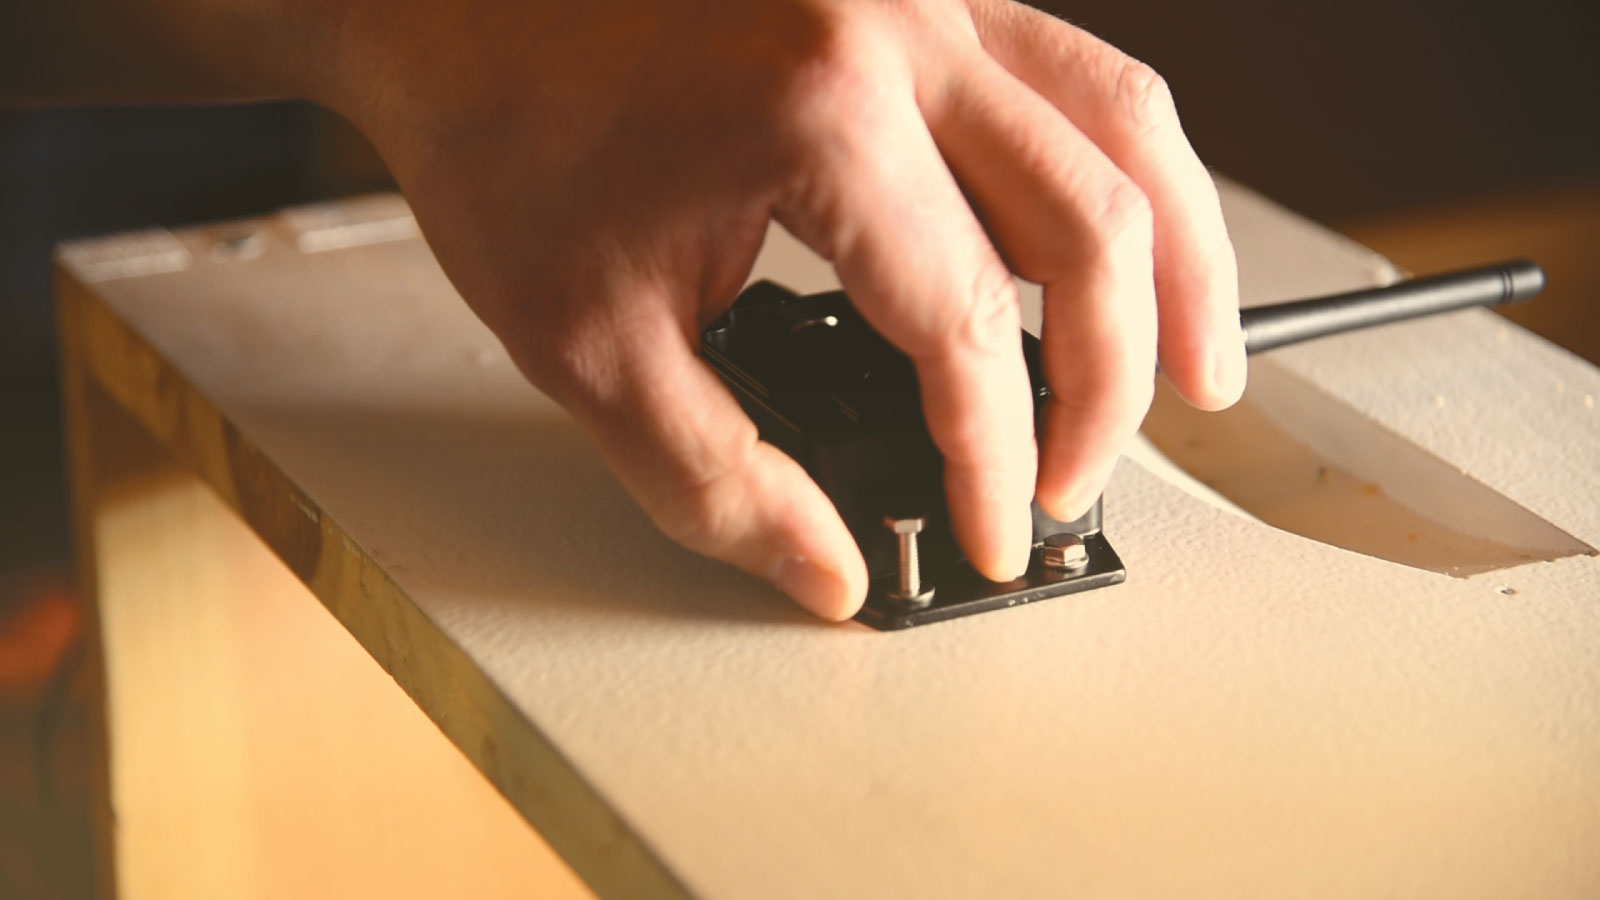
Install the vent cover grommet and place the BuzzBox over the hole. Thread each bolt through a washer, and then insert all four bolts into position.
Warning!
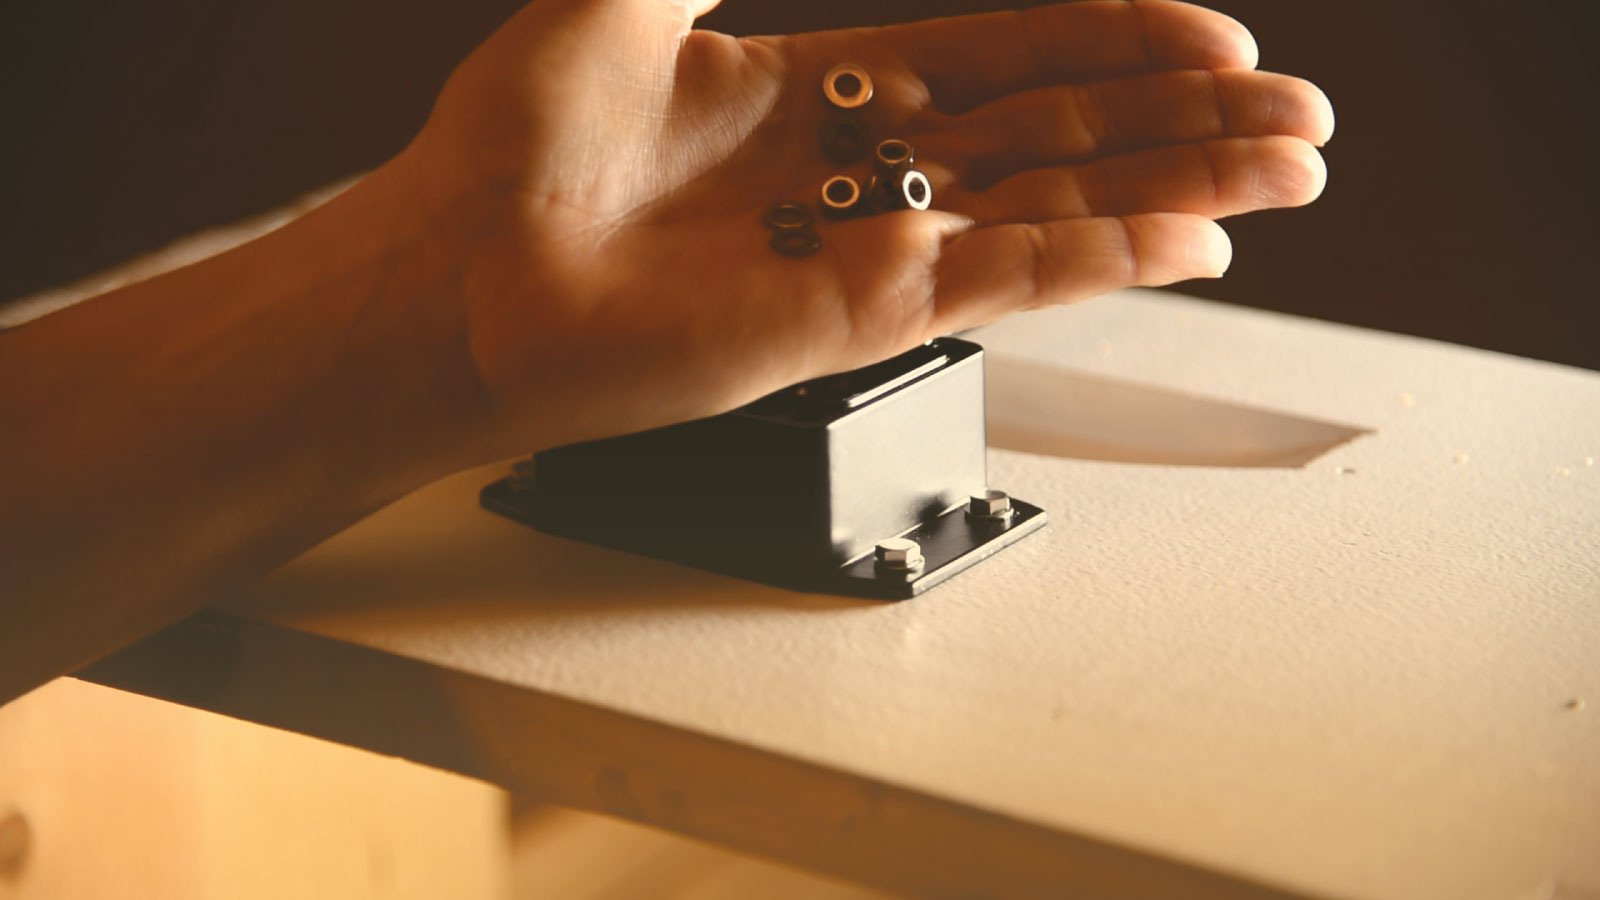
Make sure the tighten the nuts firmly with tools. They will flatten your vent cover grommet, which protects the BuzzBox and your hive from moisture and intruders. There should be no gaps around the base of your BuzzBox.
For each bolt, grab a second washer, insert over the opposite end, and secure a nut. Do not tighten one bolt before starting the nut placement of the others. Once all four nuts are in position and hand-tightened, finish up by tightening them with available tools (crescent wrenches are recommended).
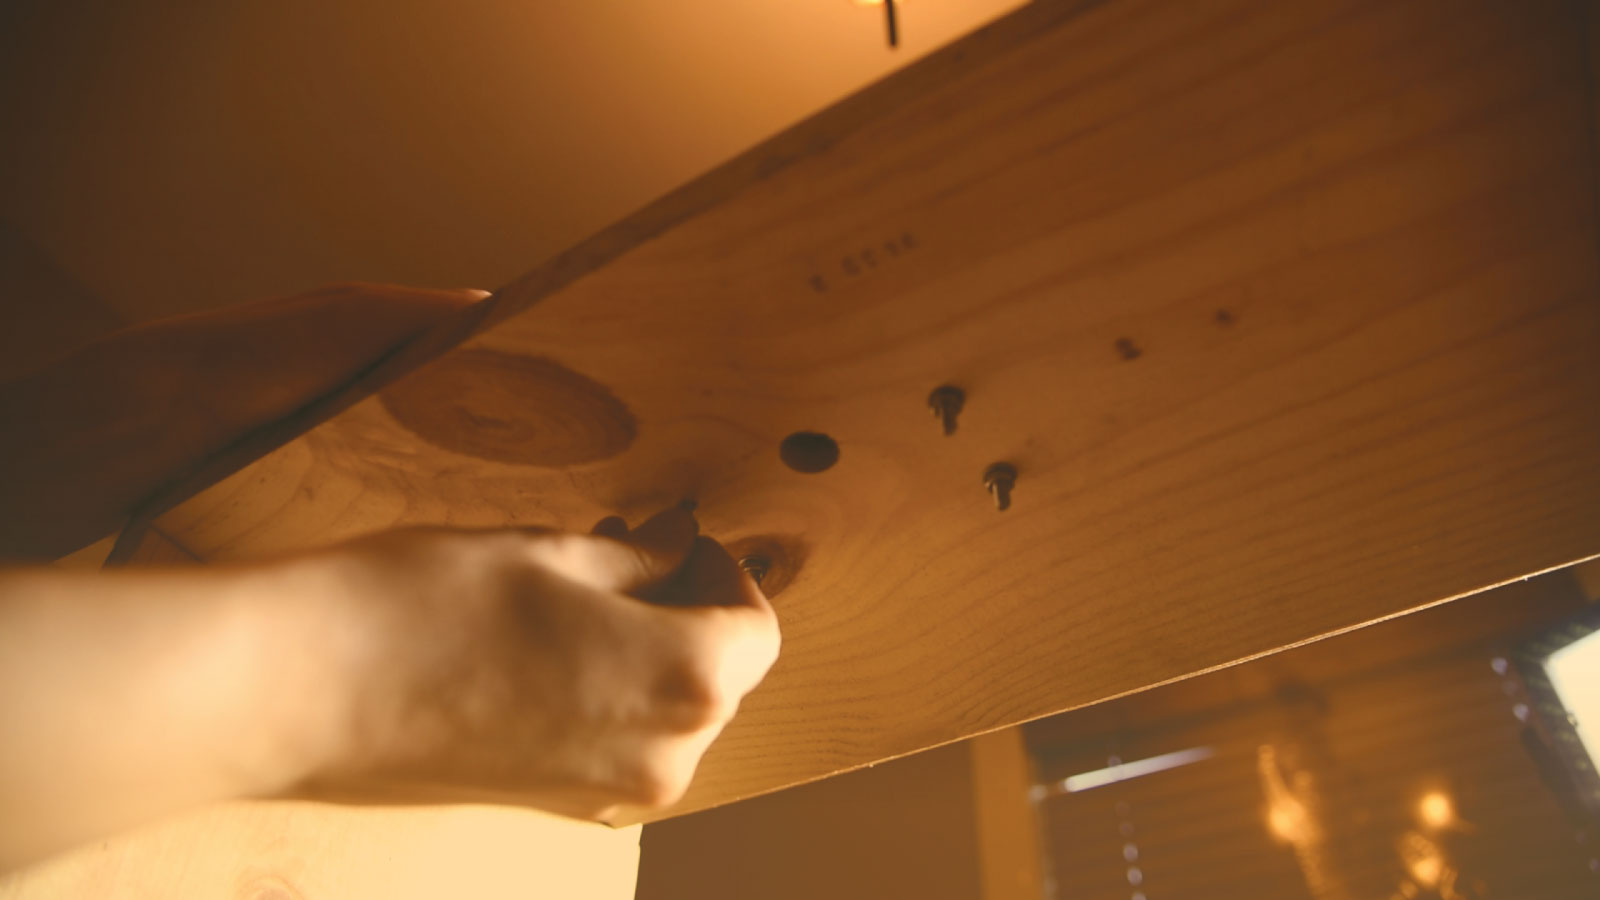
This view from the backside hows how the mounting works.
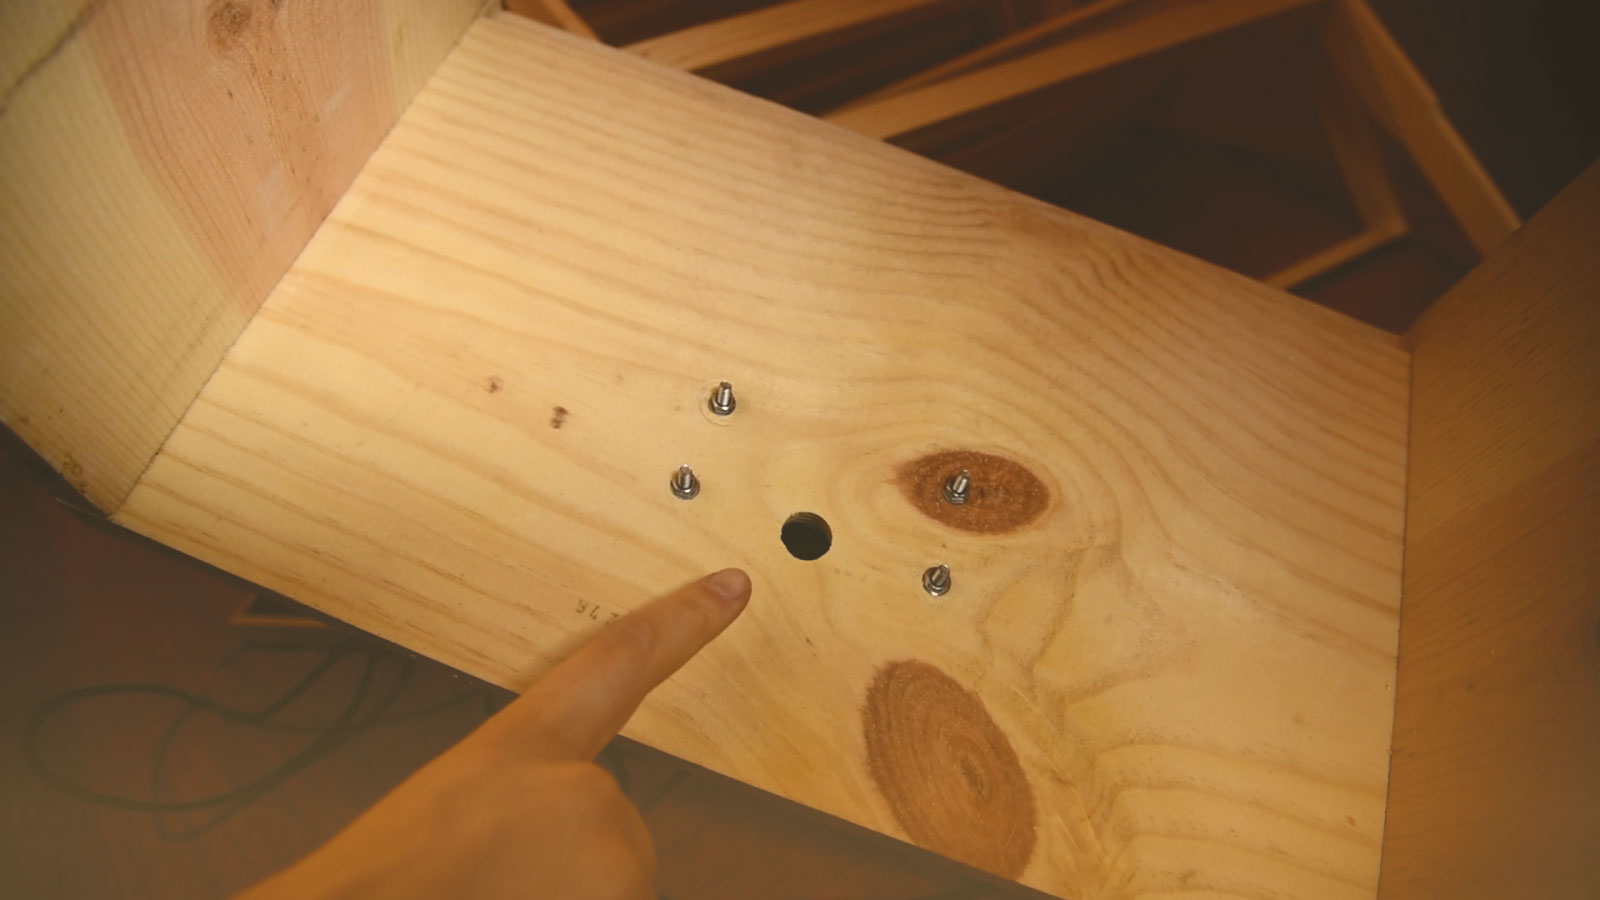
The four bolts should now be securely in place.
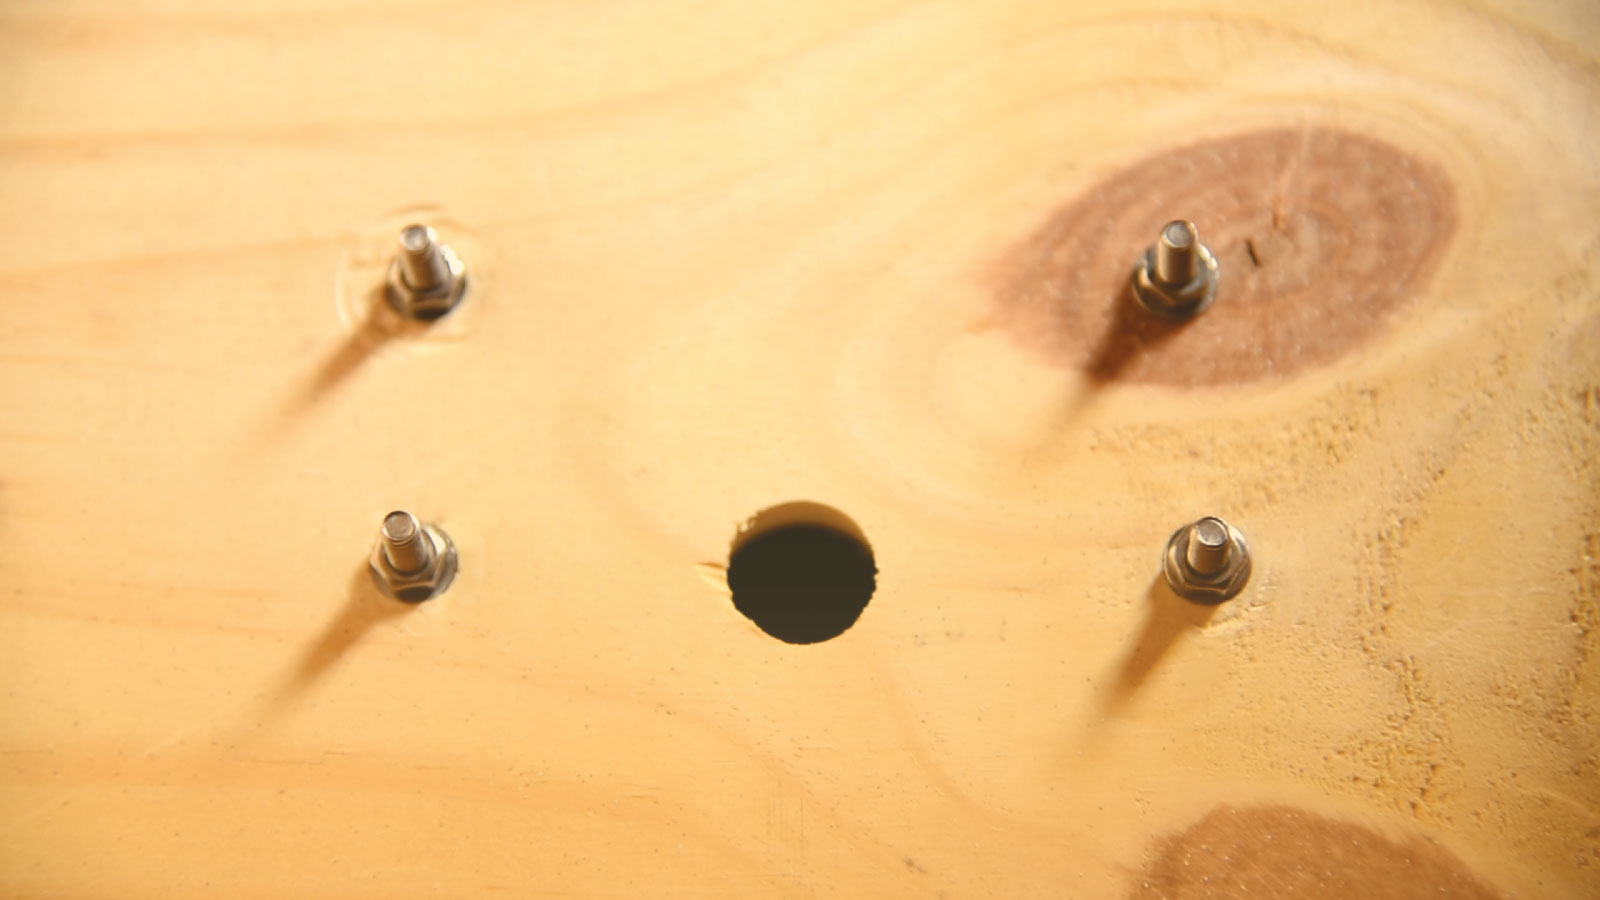
Visually inspect the vent cover to ensure it is not obstructed by anything.
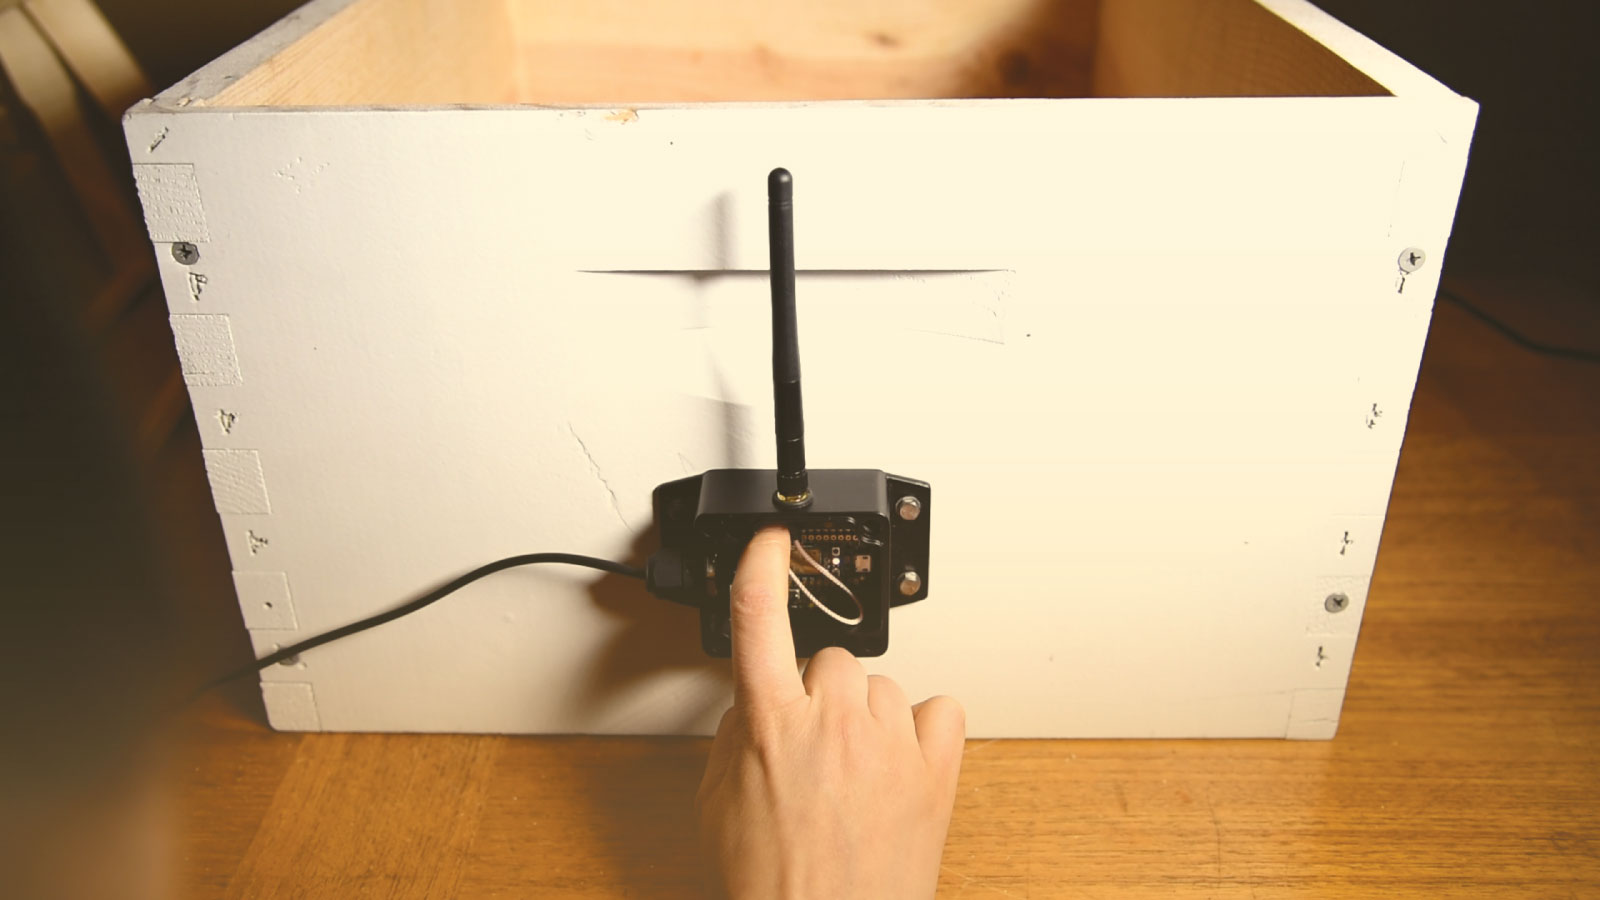
Turn on your BuzzBox and ensure it cycles through its sampling flow. It will flash green, cyan, and the blue LED light will temporarily light up indicating the sound recording procedure is taking place. Also, angle the solar panel toward the Sun to ensure that the charge indicator (red LED) lights up. To be extra certain everything is functioning well, listen to the BuzzBox's most recent recording on the app to ensure its gathering sound. It will sound low in quality, like an old phone, which is normal. We're reduced recording quality to minimize file size.
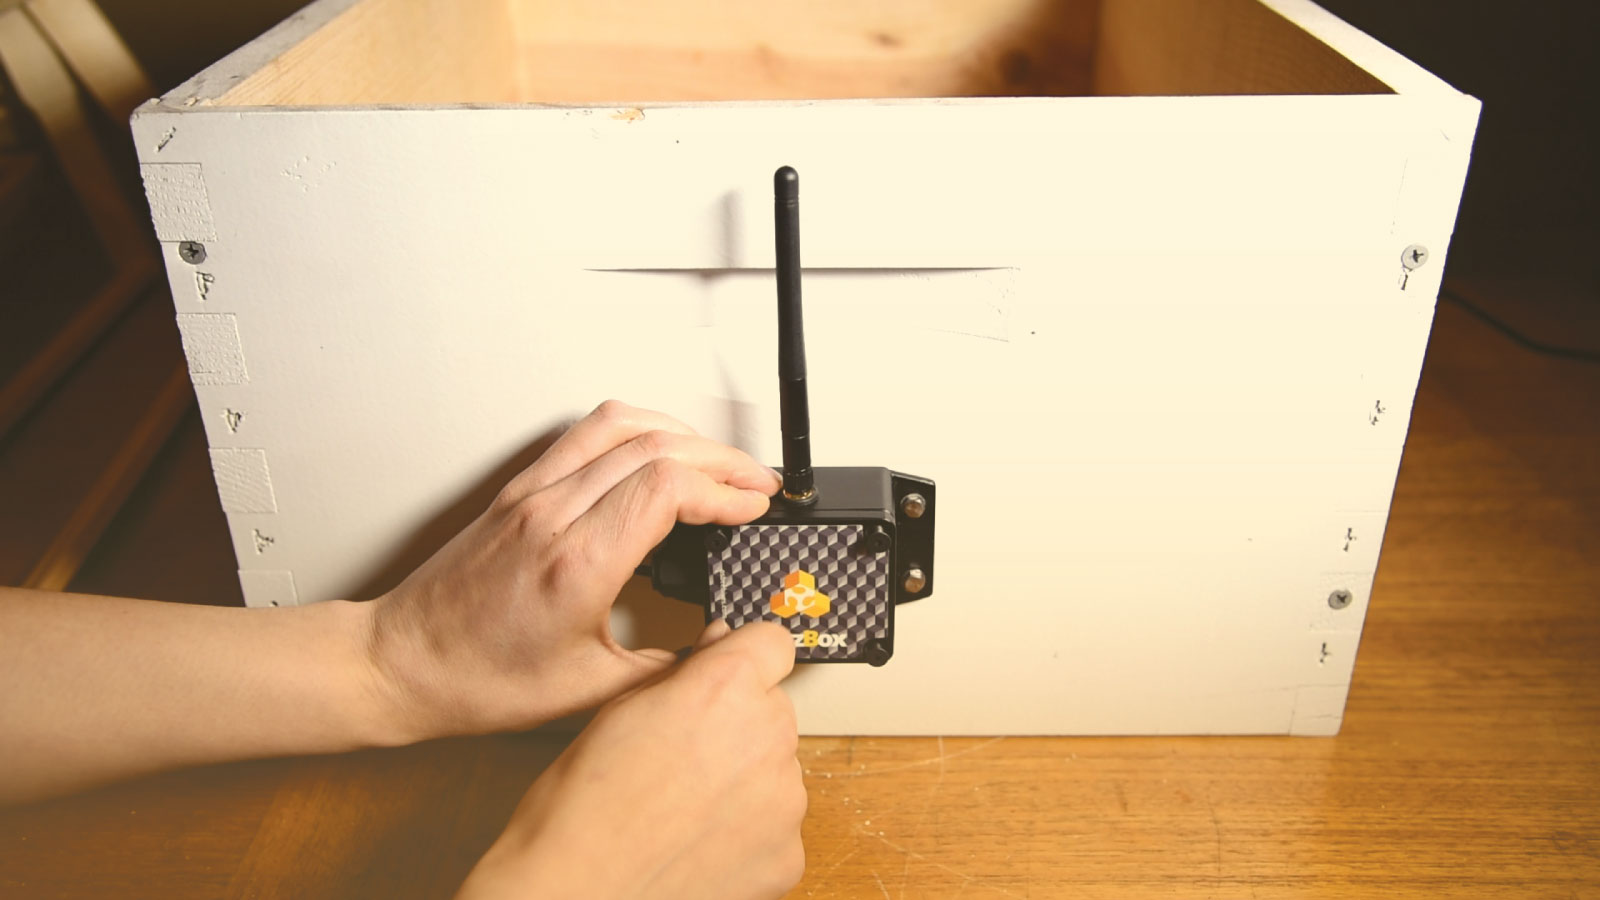
Congratulations!
You've installed your BuzzBox! It will now run for years without interruption.
Fasten the lid with the included hexagonal bolts or phillips bolts.
Updated less than a minute ago
