Legacy BuzzBox Setup Guide
Learn How to Set Up Your BuzzBox Hive Health Sensor.
All New BuzzBox Users: Read This Before Getting Started!To make things as easy as possible for you, make SURE you do these two things before bringing your BuzzBox to your hive:
- Turn the On/Off switch to the OFF position, place the solar panel in some sunlight (don't expose the circuits to weather though!), and make sure the RED LED charge indicator light is ON. Let the unit charge for 24 hours before doing anything else.
- Bring your BuzzBox near your WiFi access point and register the unit with the app FULLY before taking the unit to your hive.
Doing these two things will help you avoid many common issues. Thank you for joining the BuzzBox network!
1. Unpacking Box
Congratulations! You have received the BuzzBox Sensor kit and are now ready to start setup.
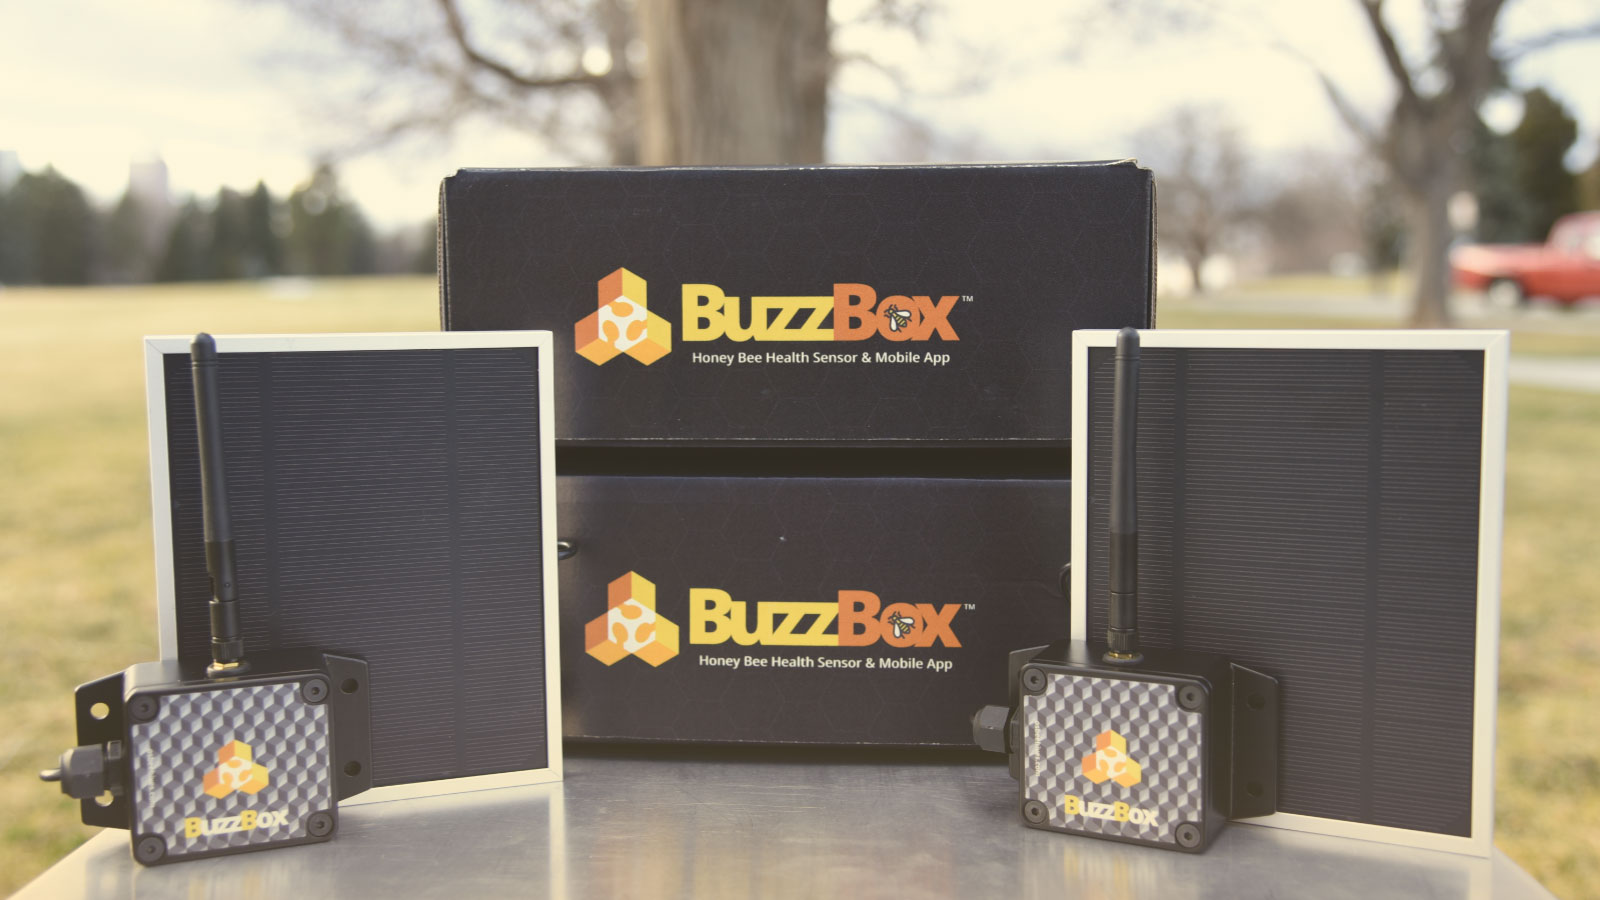
In the shipping package, you have the following items:
| Item | Quantity | Description |
|---|---|---|
| BuzzBox Sensor Kit | 1 | IP67 Enclosure with WiFi, sensors, microphone, Li-Ion battery |
| Solar Panel | 1 | 3.5W solar panel for charging BuzzBox |
| Velcro Strap | 1 | Cable harness |
| Velcro Strips | 2 | Solar panel mounting |
| Screws | 4 | BuzzBox hive mounting hardware |
| Grommet | 1 | Hive tap seal |
| WiFi Antenna | 1 | External WiFi antenna |
2. Mobile App
Download the OSBeehives mobile app from Google Play or the App Store


Watch the Video or Follow Text Instructions Below
Open app
Switching between apps on your mobile deviceThis setup requires you to switch between different screens on your mobile phone (Settings < > OSBeehives App < > Web browser).
To do this on iPhone: double tap the HOME button
To do this on Android: double tap OVERVIEW button (square on the right)

Login/Create an account

Tap ‘Add a Hive’

3. Connect to WiFi
Now we will turn on the BuzzBox Sensor and connect it to your local WiFi network to start streaming data to your mobile app.
If you haven't already connected your WiFi antenna to the connection port on the outside of the Buzzbox, do so now by screwing it in. If you find that the antenna will not grip the threads because the connector port is does not protrude outside the case enough, this problem can be easily fixed by turning the golden hex nut clockwise with a wrench a few turns until the antenna whip grabs the threads properly.
Note: The wifi connection can still be less than optimal if not enough of the connector is exposed, despite the antenna screwing onto the port. To test for this, setup your Buzzbox relatively near your router (say ~20 ft). If, after setup, the signal strength is still low, try tightening the nut, exposing more of the connector. After re-attaching the connector (don't try to adjust the nut with it attached!), you should get a better signal, if this was a problem.
Turn On Your BuzzBox Sensor

Hold the SETUP button for 10 seconds until the LED (light) rapidly flashes for a split-second. Then, release SETUP.

The Central LED Will Begin Blinking Blue

BuzzBox Setup
Click Next in the Bottom-Right Corner of the App

Remove the Lid
Again, Click Next in the Bottom-Right Corner of the App

Connect Your Phone to the BuzzBox WiFi Hotspot
Switch between apps on your mobile deviceGo to you WiFi network settings on your phone
Go to your WiFi network settings:
- (Android) Swipe down from top of screen
- (iPhone) Go to Settings >> Wi-Fi
Connect to the BUZZBOX-**** network.

Wi-Fi Has No Internet Access
Tap for options

The Network Has No Internet Access. Stay Connected?
Tap yes

Switch between apps on your mobile deviceGo back to OSBeehives app
Setup Mode
Tap next

Switch between apps on your mobile deviceA web browser should automatically be brought up on your phone
Setup Your BuzzBox
A browser window popup will appear (192.168.0.1). Tap SCAN to locate your normal, local WiFi network.

Tap Network
Tap the name of the WiFi network you want to connect your BuzzBox to, and enter its password below.


Make a Connection
Allow your BuzzBox to connect to your local network, download any firmware, and finalize registration. When its complete, it will slowly pulse/breathe a cyan/light-blue color. When this happens (after about 20 seconds), return to the app screen.
Switch between apps on your mobile deviceGo back to OSBeehives app
Beehive Information
Fill out the hive information form. You'll give your BuzzBox a recognizable name, select the hive type, bee species, and your hive location (must be accurate for correct weather reporting).
Please ensure this information is accurate.


Tap Your BuzzBox Lightly On Your Desk
The device will take a reading over the course of 15 seconds. When its finished, swipe down in the app to view the latest reading. You'll notice the time stamp updates.
You've successfully registered your BuzzBox!

Video Summary